Introduction

mSalesApp integrates with Xero to seamlessly automate your Sales Process without manual intervention.
Customers and Products from Xero can be imported in to mSalesApp.
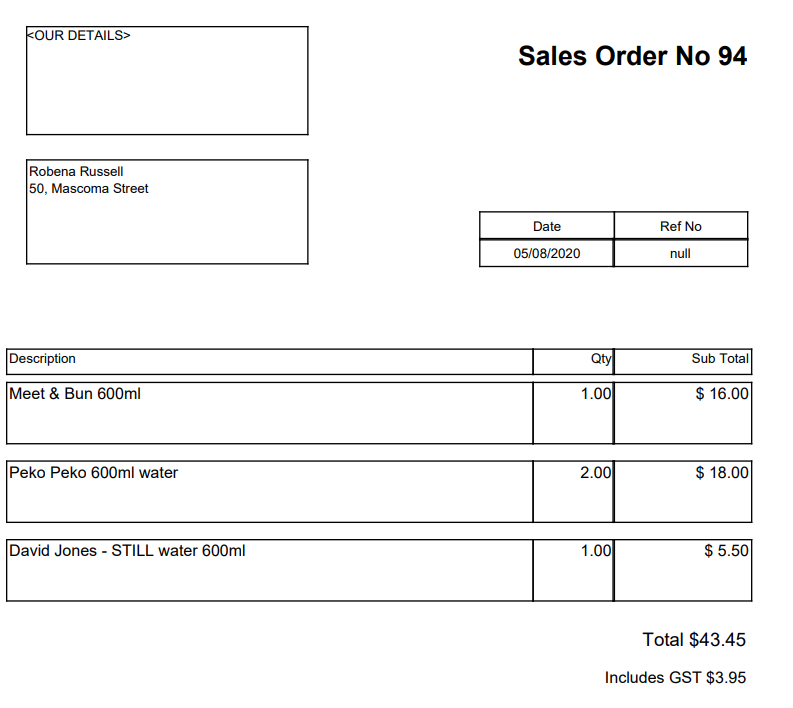
When you generate an invoice for a Sales Order in mSalesApp, it is sent to Xero and posted against the customer's Account. The payments received via mSalesApp can be posted against the Customer Account.
Payments can be received directly in Xero too.
Getting Started
Lets use this help guide to get a clear picture of the basic requirements and online help guide to better understand the functions and features of Peercore mSalesApp.
System requirements
mSalesApp browser and mobile application has following minimum system requirements:
Browser Application
latest versions of Chrome,Firefox or Microsoft Edge
Mobile Application
Android version - Android 5.0 and above
Recommended resolution - 800 x 1280 (minimum screen resolution)
Screen size - more than 8 inch
Memory space - Minimum 2 GB
Create Customers in mSales Web App
- To create a new customer in mSalesApp, you will first have to look for the 'Customers' option on the menu bar.
- Once you enter the Customers page you can click on the 'Create' button located next to the search bar as shown below;

- After selecting the Create option, you will be prompted to fill in the new customer details as shown in the screen below;
The '*' symbol will indicate mandatory fields that will need to be completed in order to save the details.
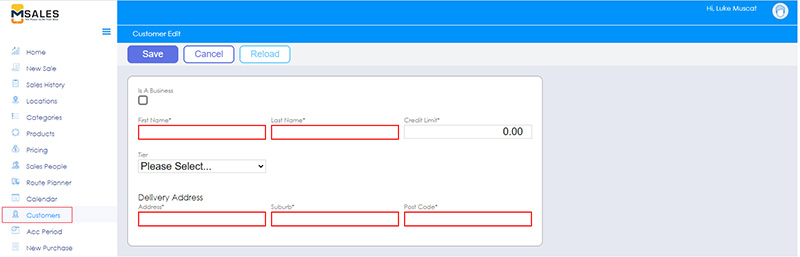
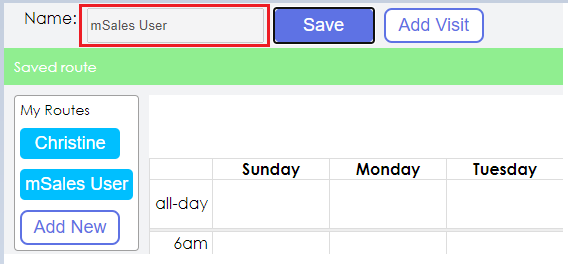
- After entering all the customer data, you can then proceed to save this information by clicking on the 'SAVE' button found on top of the Customer details section. br>
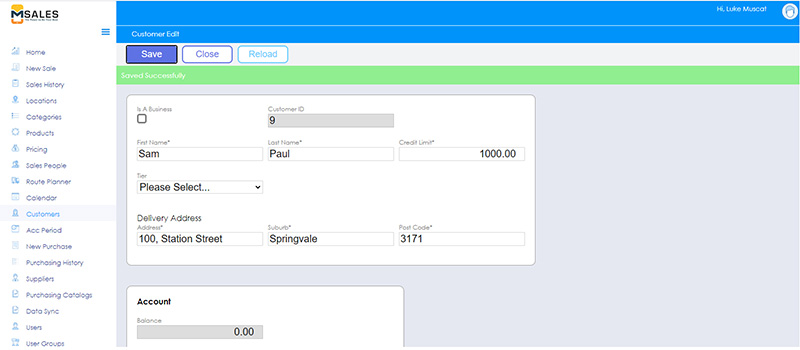
If your details were successfully saved, you will receive a 'Saved Successfully' message on top of the customer details section.
If you do not receive this message you may have to check if you have entered the details correctly and in their respective fields.
Getting help
The online help guide provides all the necessary information that the user needs to know in order to understand the mSalesApp mobile and web applications.
Each topic has the help context in detail.
Sales Process in mSales Web App
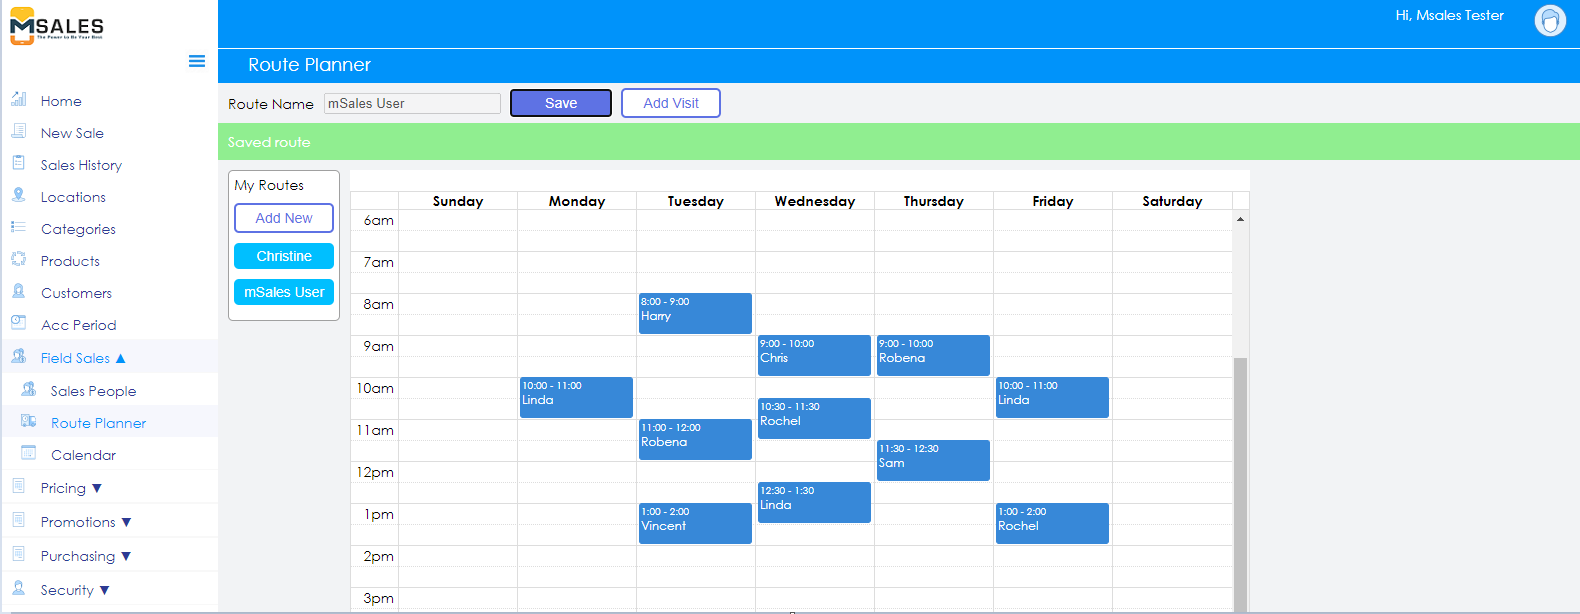
This section gives an explanation on what needs to be done prior to creating Sales Orders through mSalesApp and how the entire Sales Process Works;
Steps ⇒
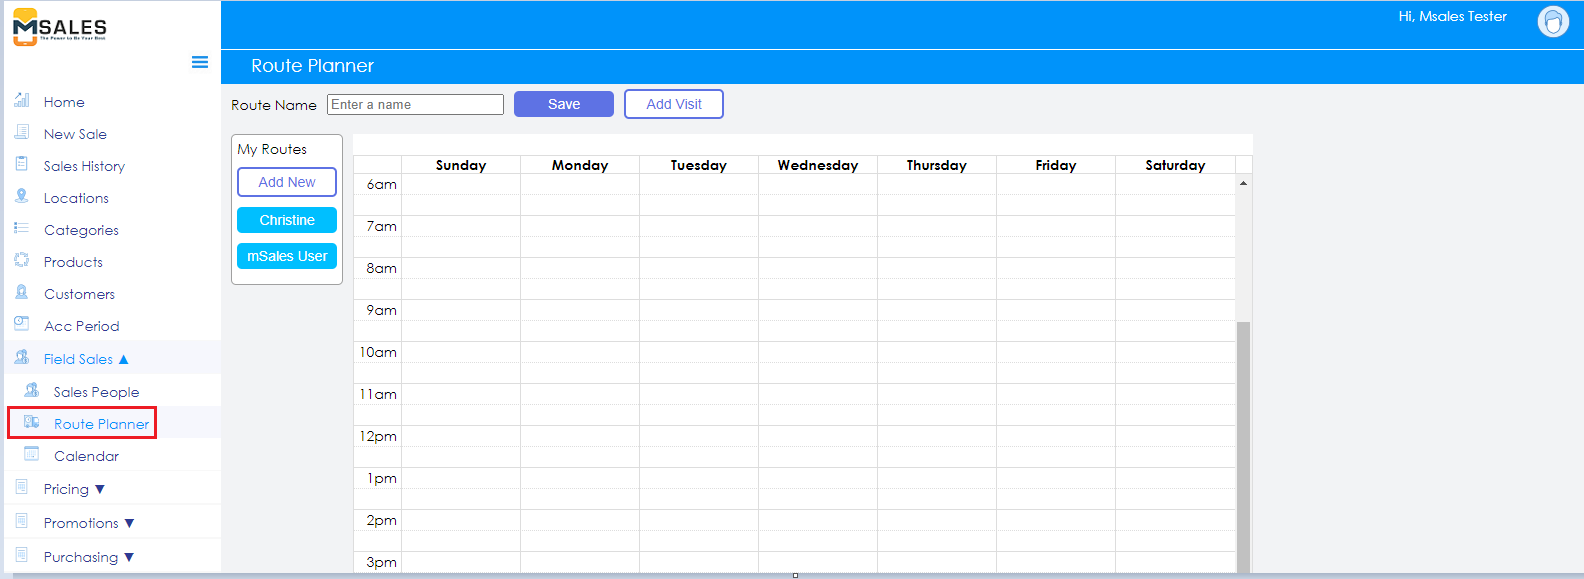
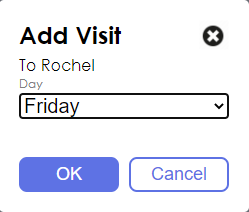
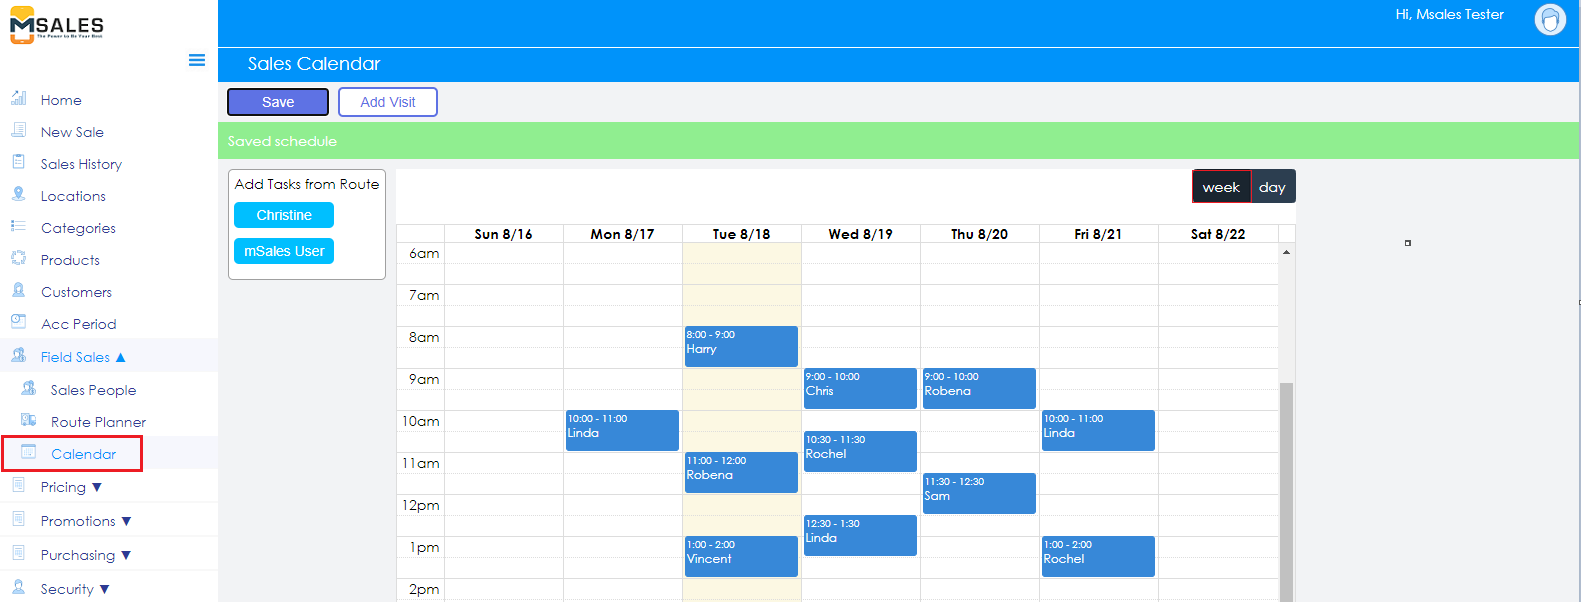
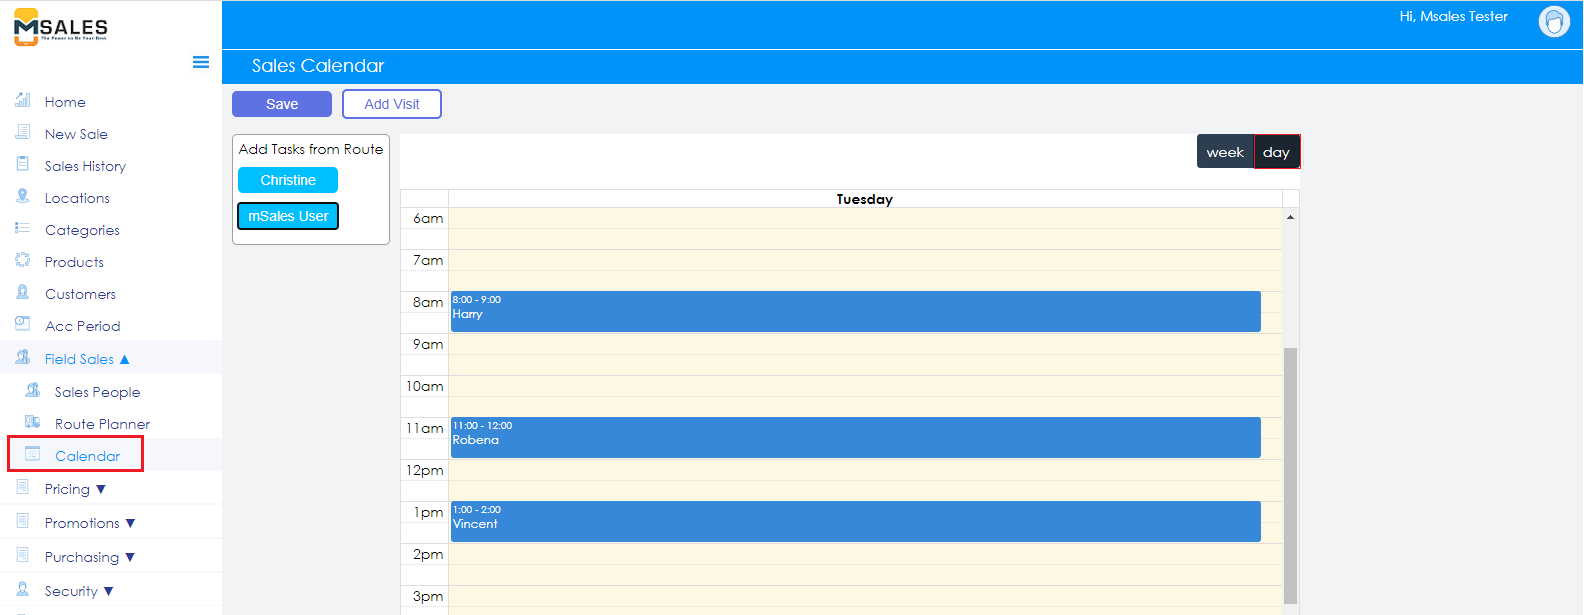
- Schedule Customer visits in mSales Web App.
- Create Sales Order in mSalesApp.
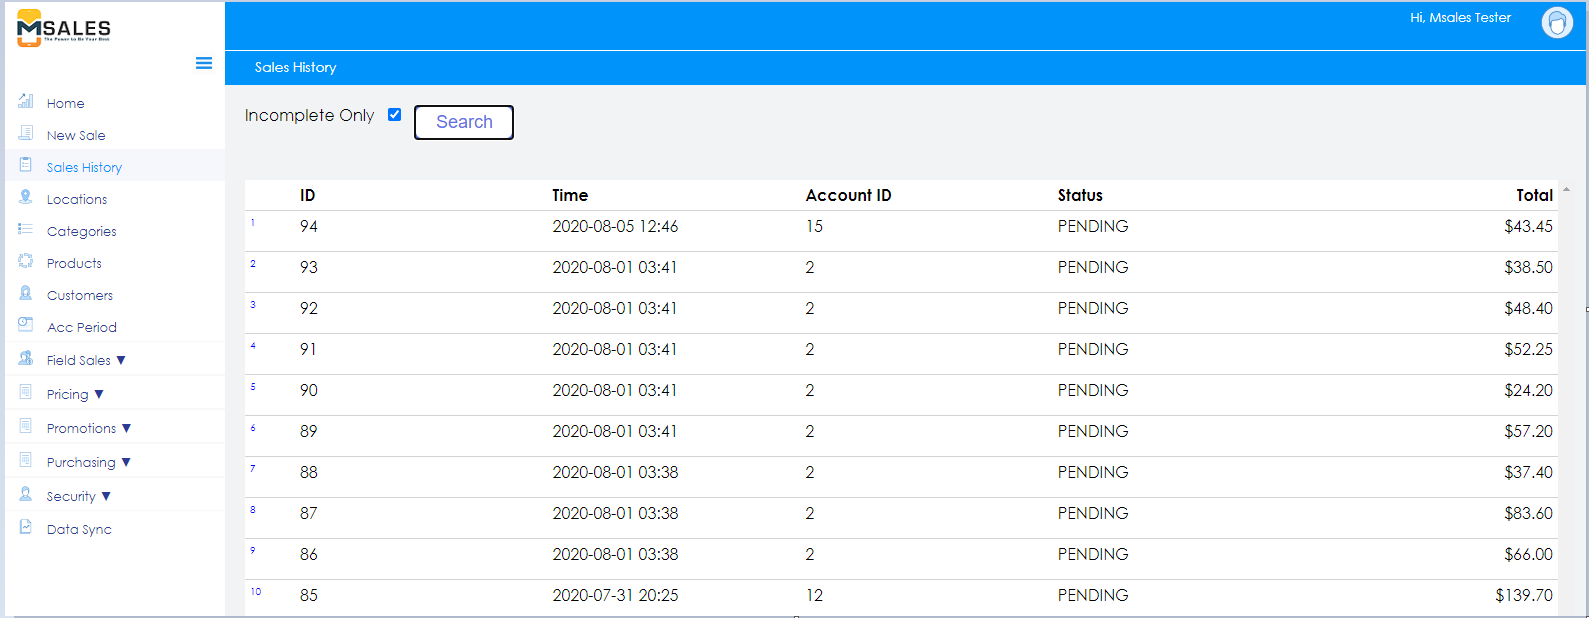
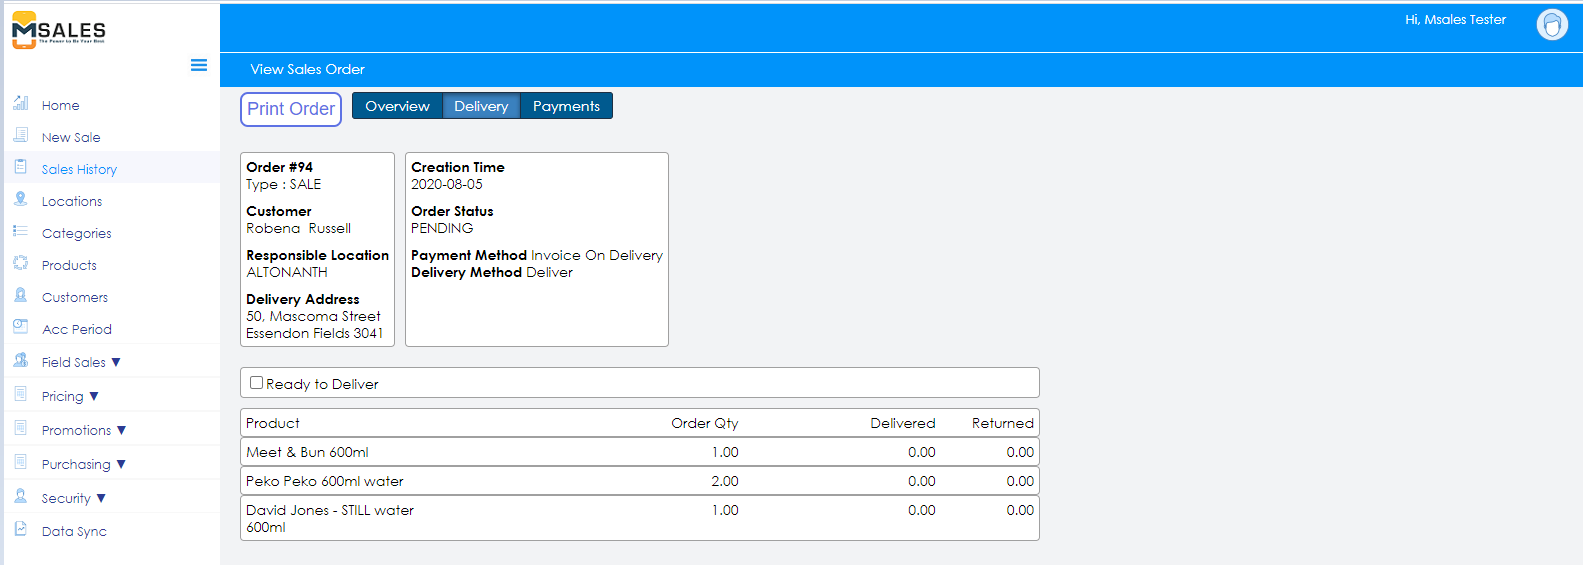
- Check the Sales History in mSales Web App for the Orders that were created.
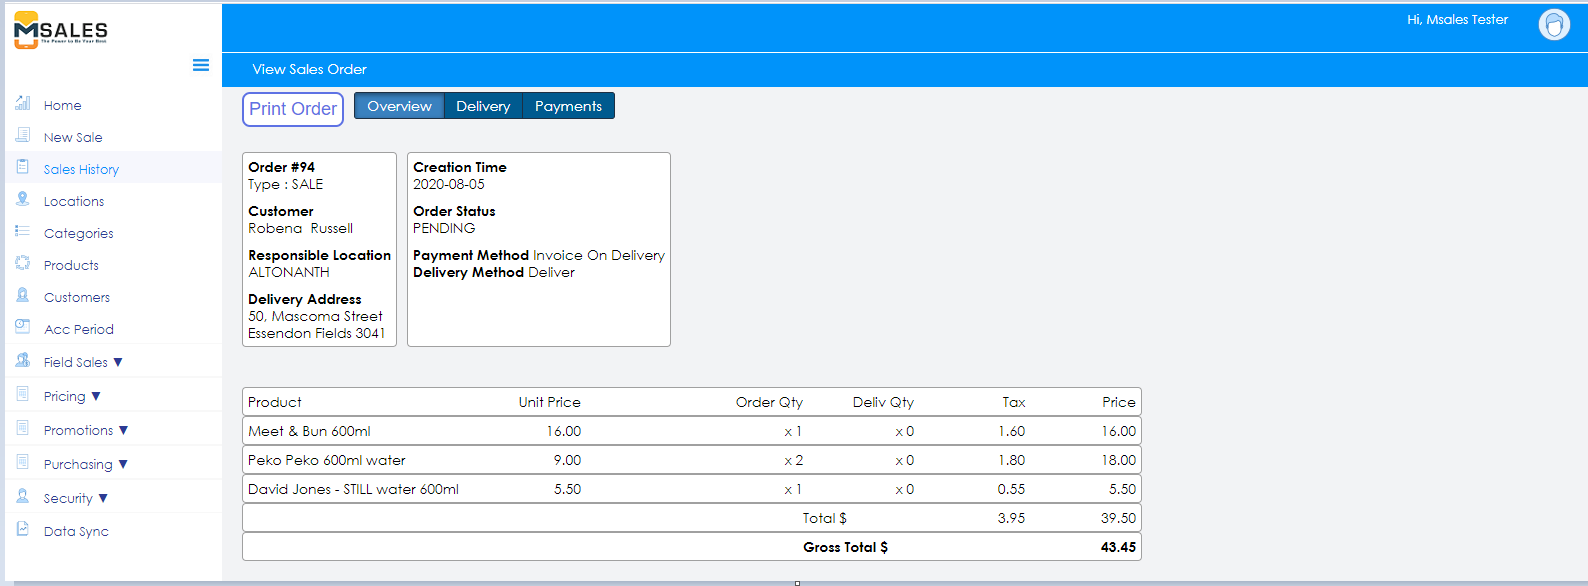
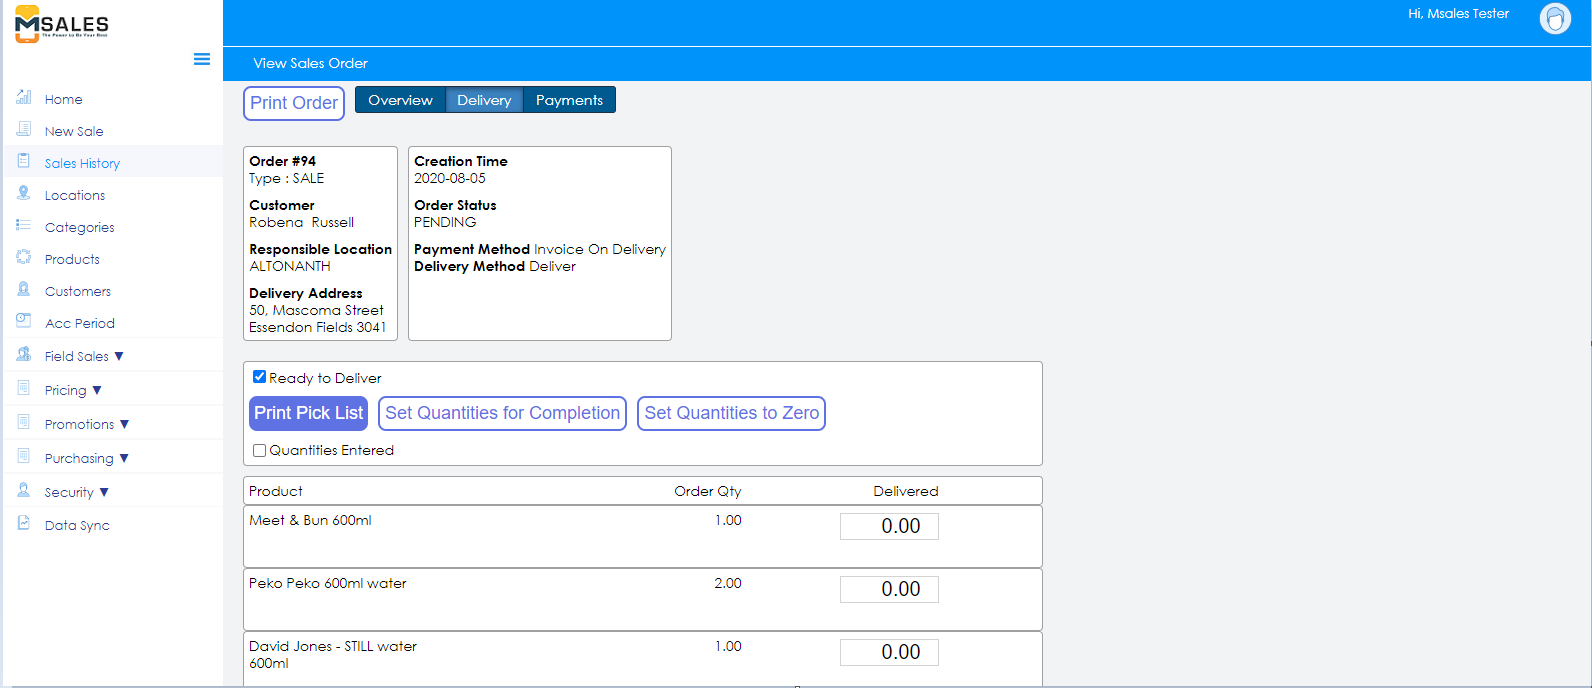
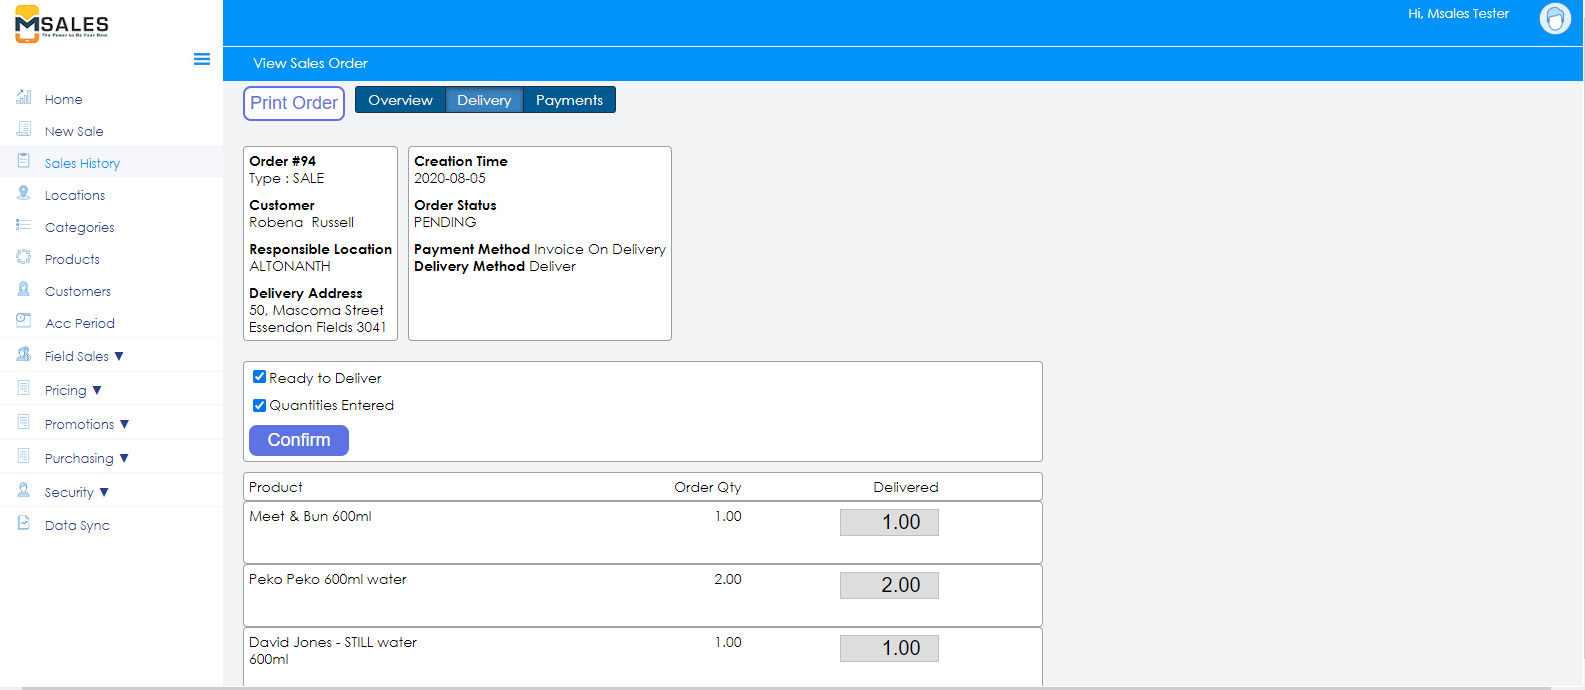
- Confirm the Order to proceed with Invoice Generation.
mSalesApp Login Page
How to log in to mSalesApplication
At first, potential users need to request user accounts to mSalesApp.
After your account is registered, you can log in the application as follows.
Steps ⇒
1. Enter the Username and the Password
2. Tap on 'Login' to Login to the Application
Remember Me - When opted for, will save you from entering the username and
the password each time you login to the system. It will allow you to say logged
in till you logout of the system.
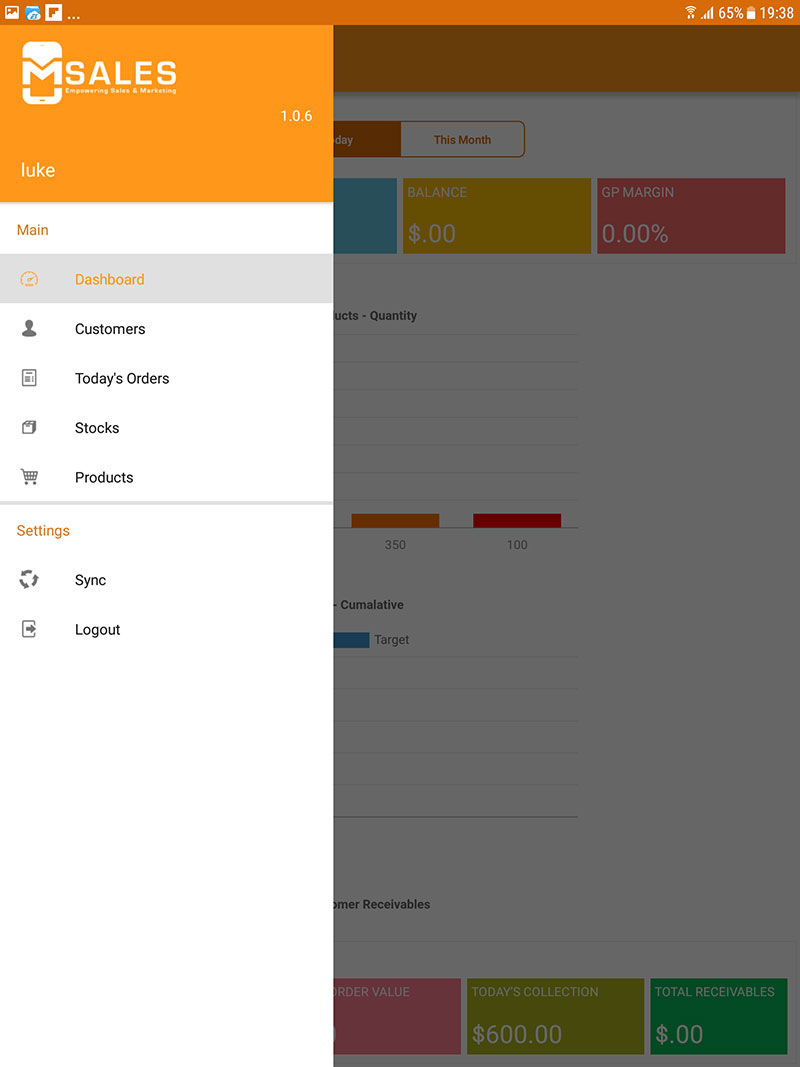
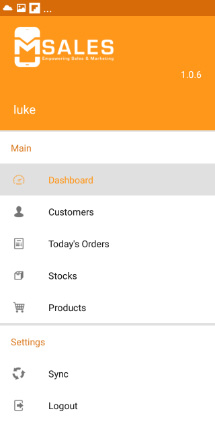
Main Menu Options
Once the user has successfully logged into the mSalesApplication, swipe to the right will get the Main Menu to appear on the screen.
Tap to select a desired option.
Dashboard
By clicking on the 'Dashboard' option on the menu,you will be provided with the graphical interface of the overall performance.
At a glance the user can view the key performance indicators such a the rep sales, targets and many more.
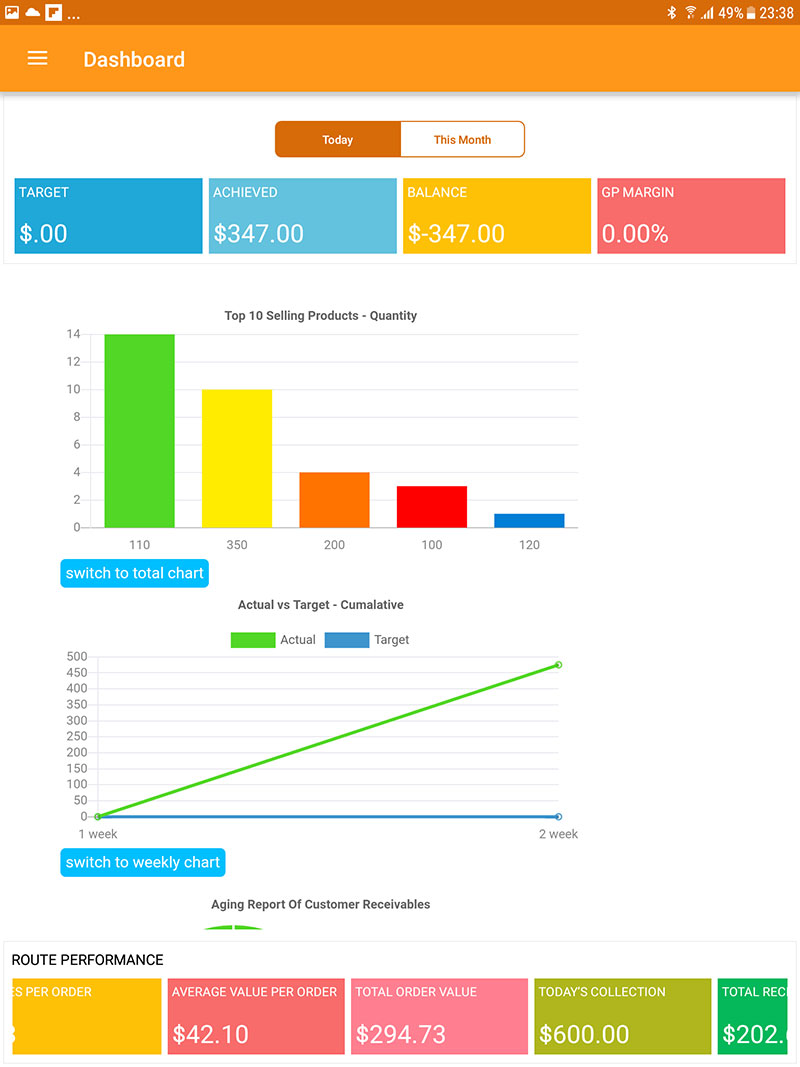
Your real time performance in terms of Today’s target, Monthly Target, Targets Achieved and Sales Made will be automatically updated and displayed on this screen.
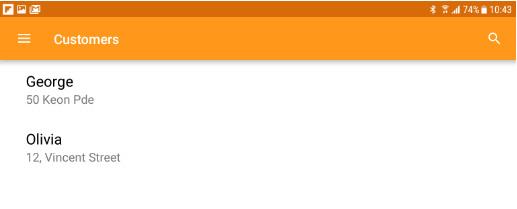
Customers
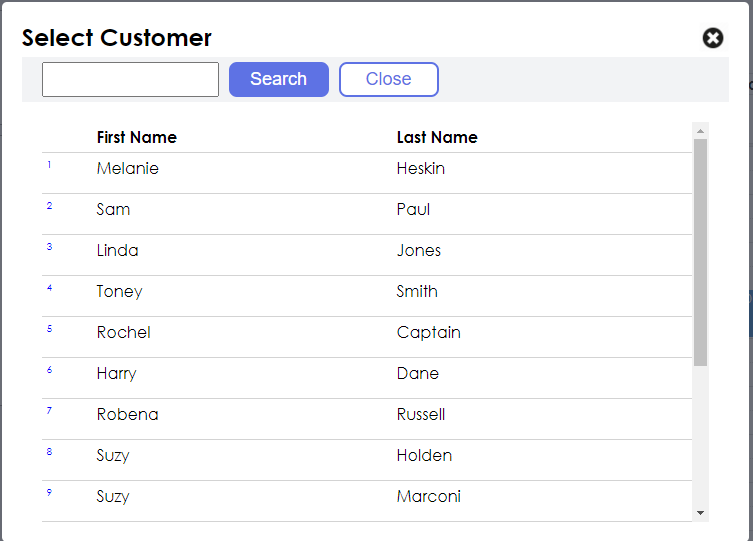
Select the ‘Customer’ option from the Main Menu to view your customer information.
A list of all the customers who need to be visited on that particular day will be displayed.
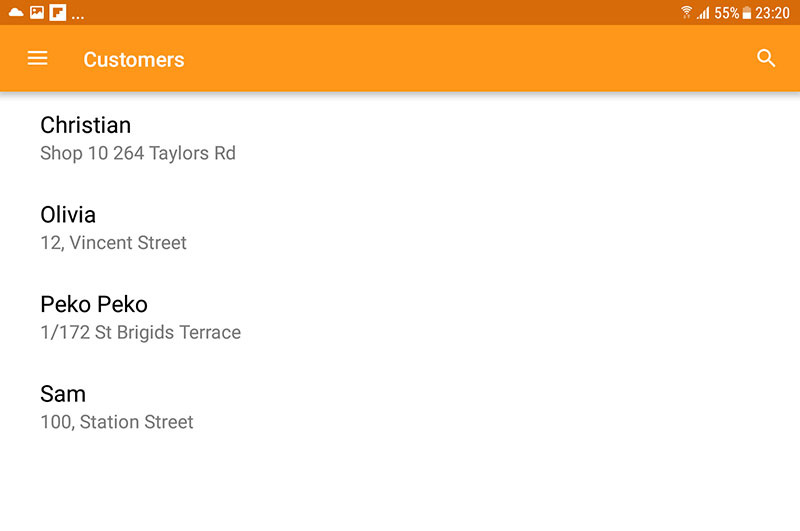
You could either scroll down the list OR use the Search function located on the top right side of the screen to find a particular customer.
You will not be able to add a new customer. It will only allow you to edit an existing customer record and save this information.
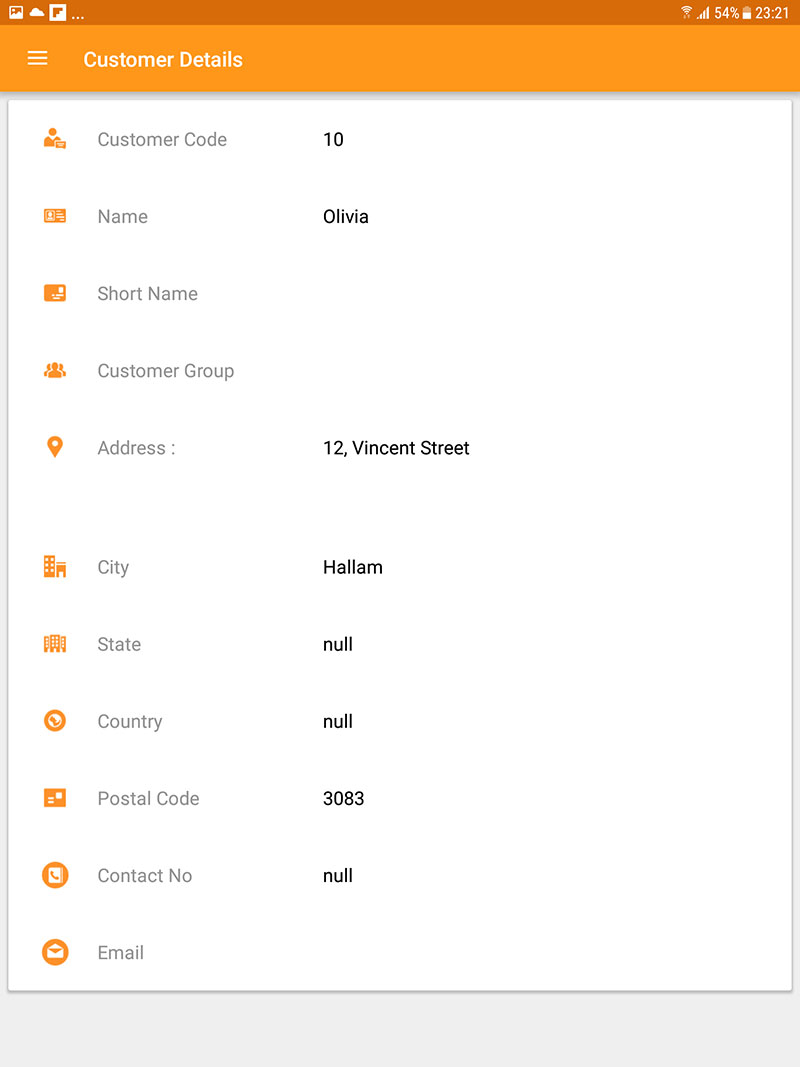
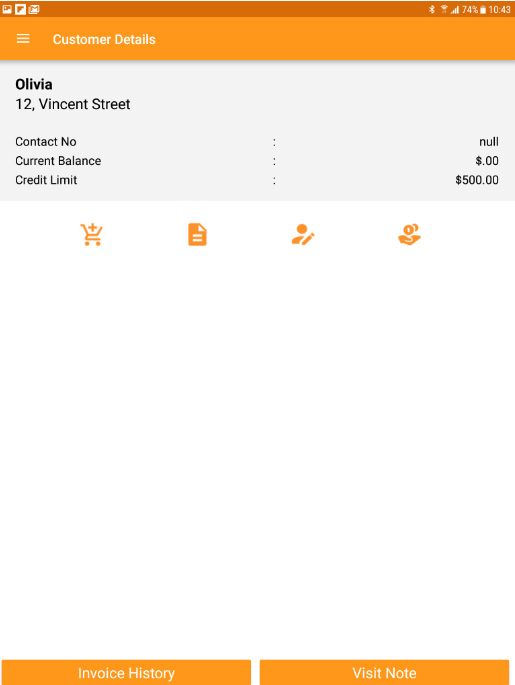
Customer Details
When you select a customer on the list, all details pertaining to the particular customer will be displayed on the screen.

To view the information for the selected customer, click on the  icon. This will bring up the customer details.
information.
icon. This will bring up the customer details.
information.
When viewing Customer detail it will also allow you to  create an order,
  visit note &
  outstanding collection detail.
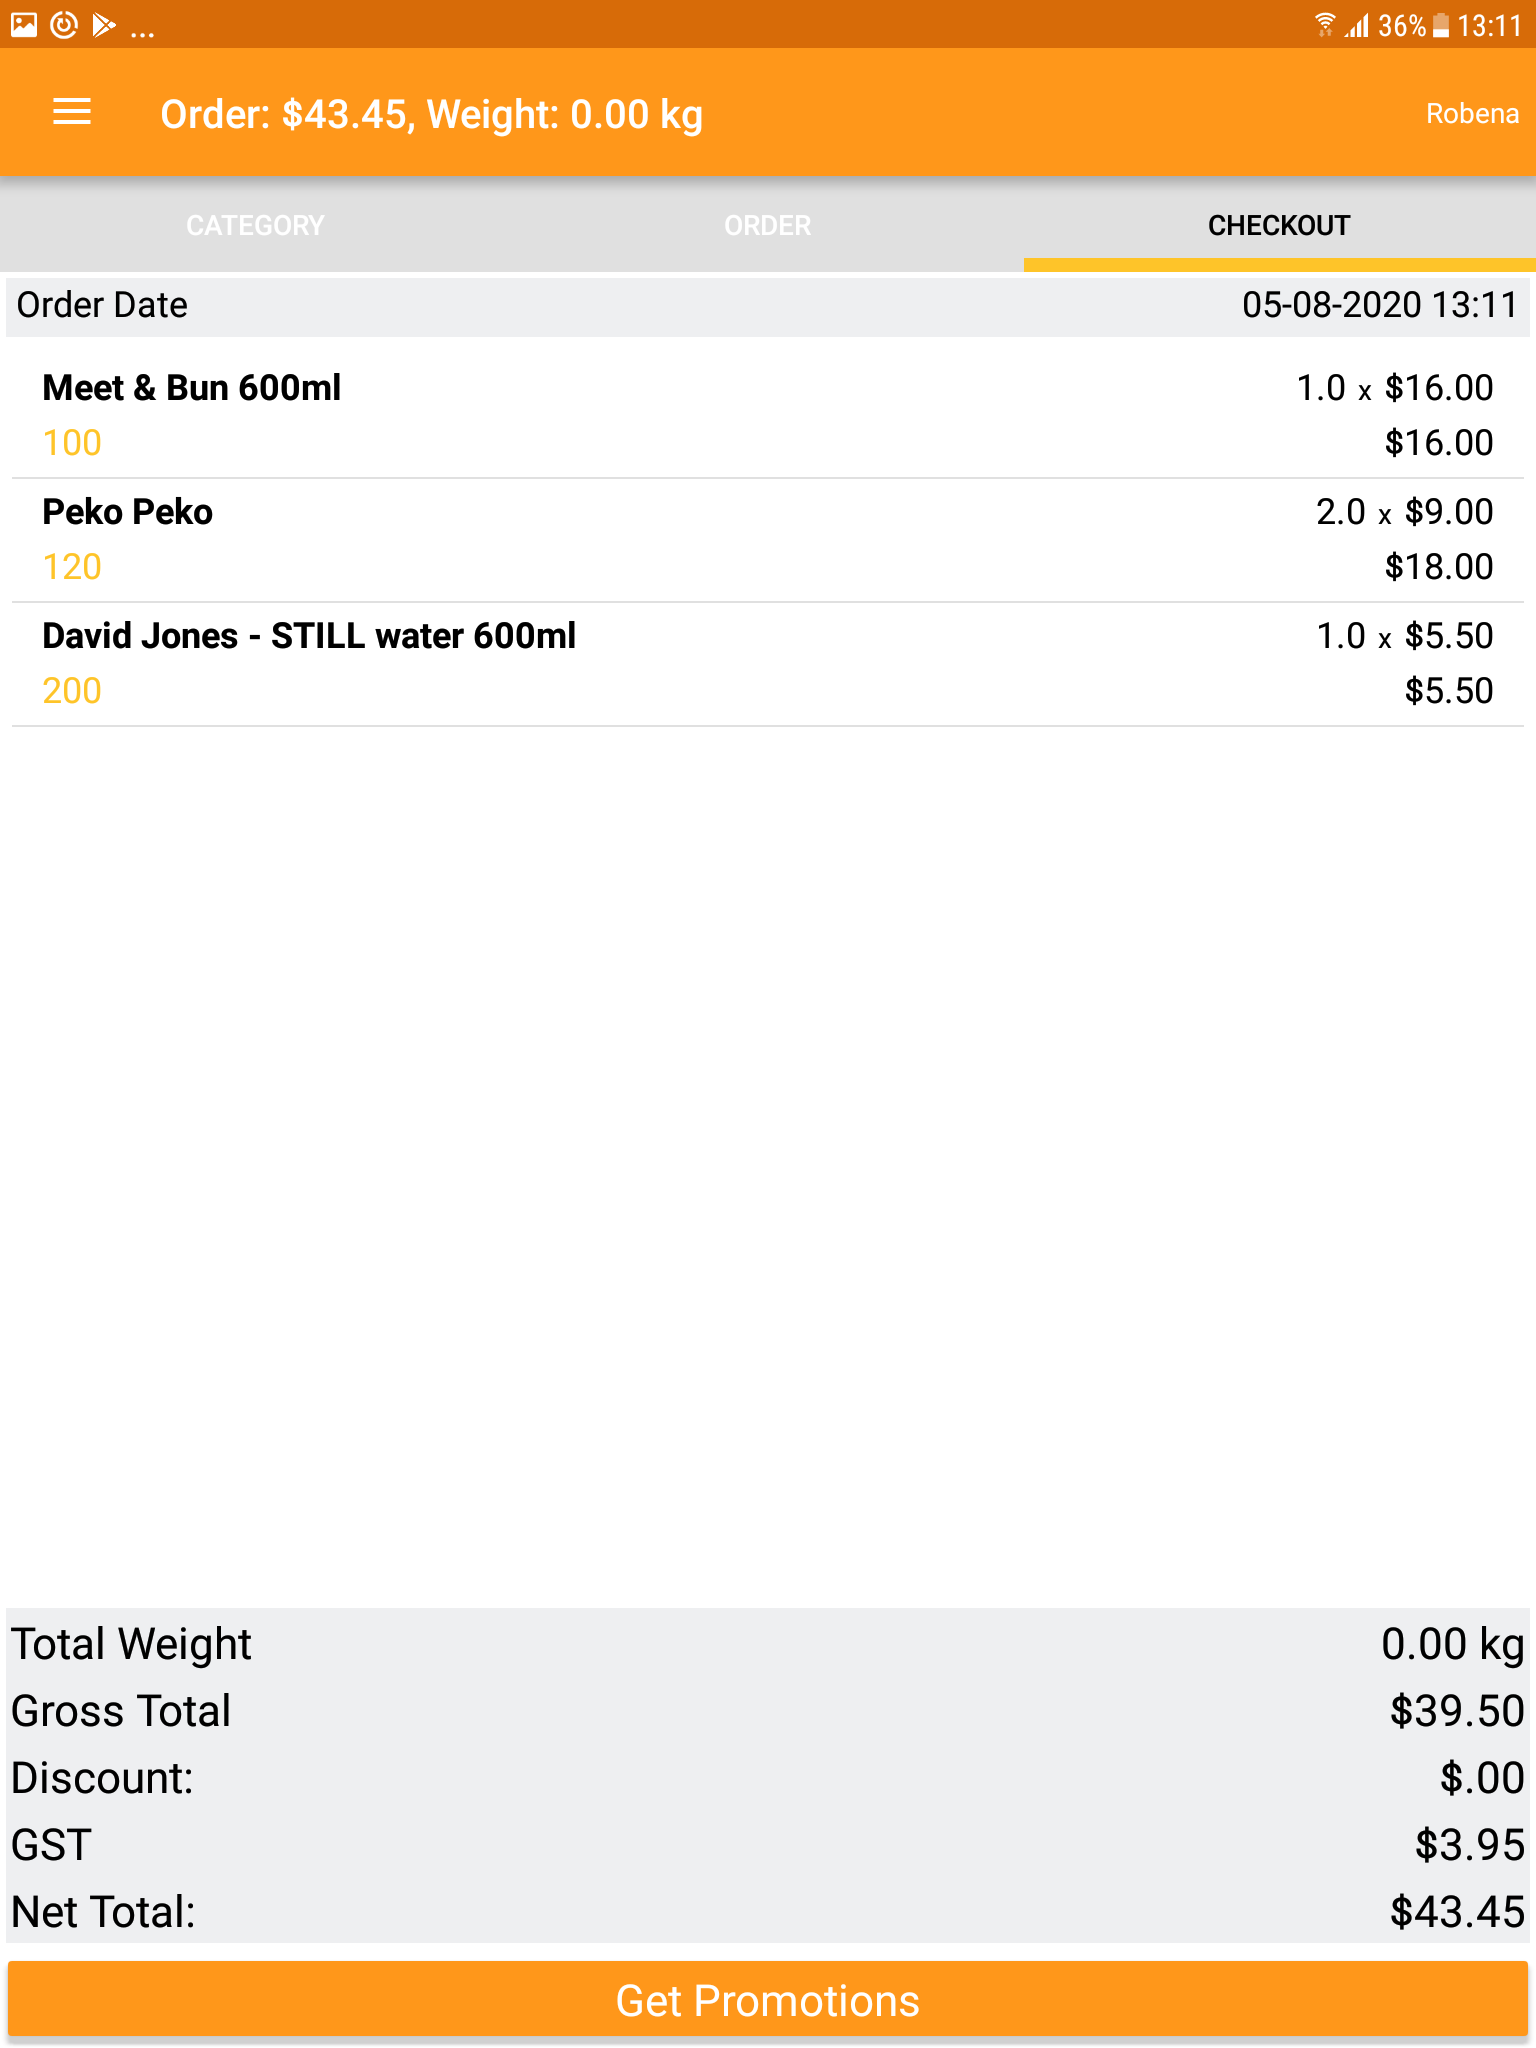
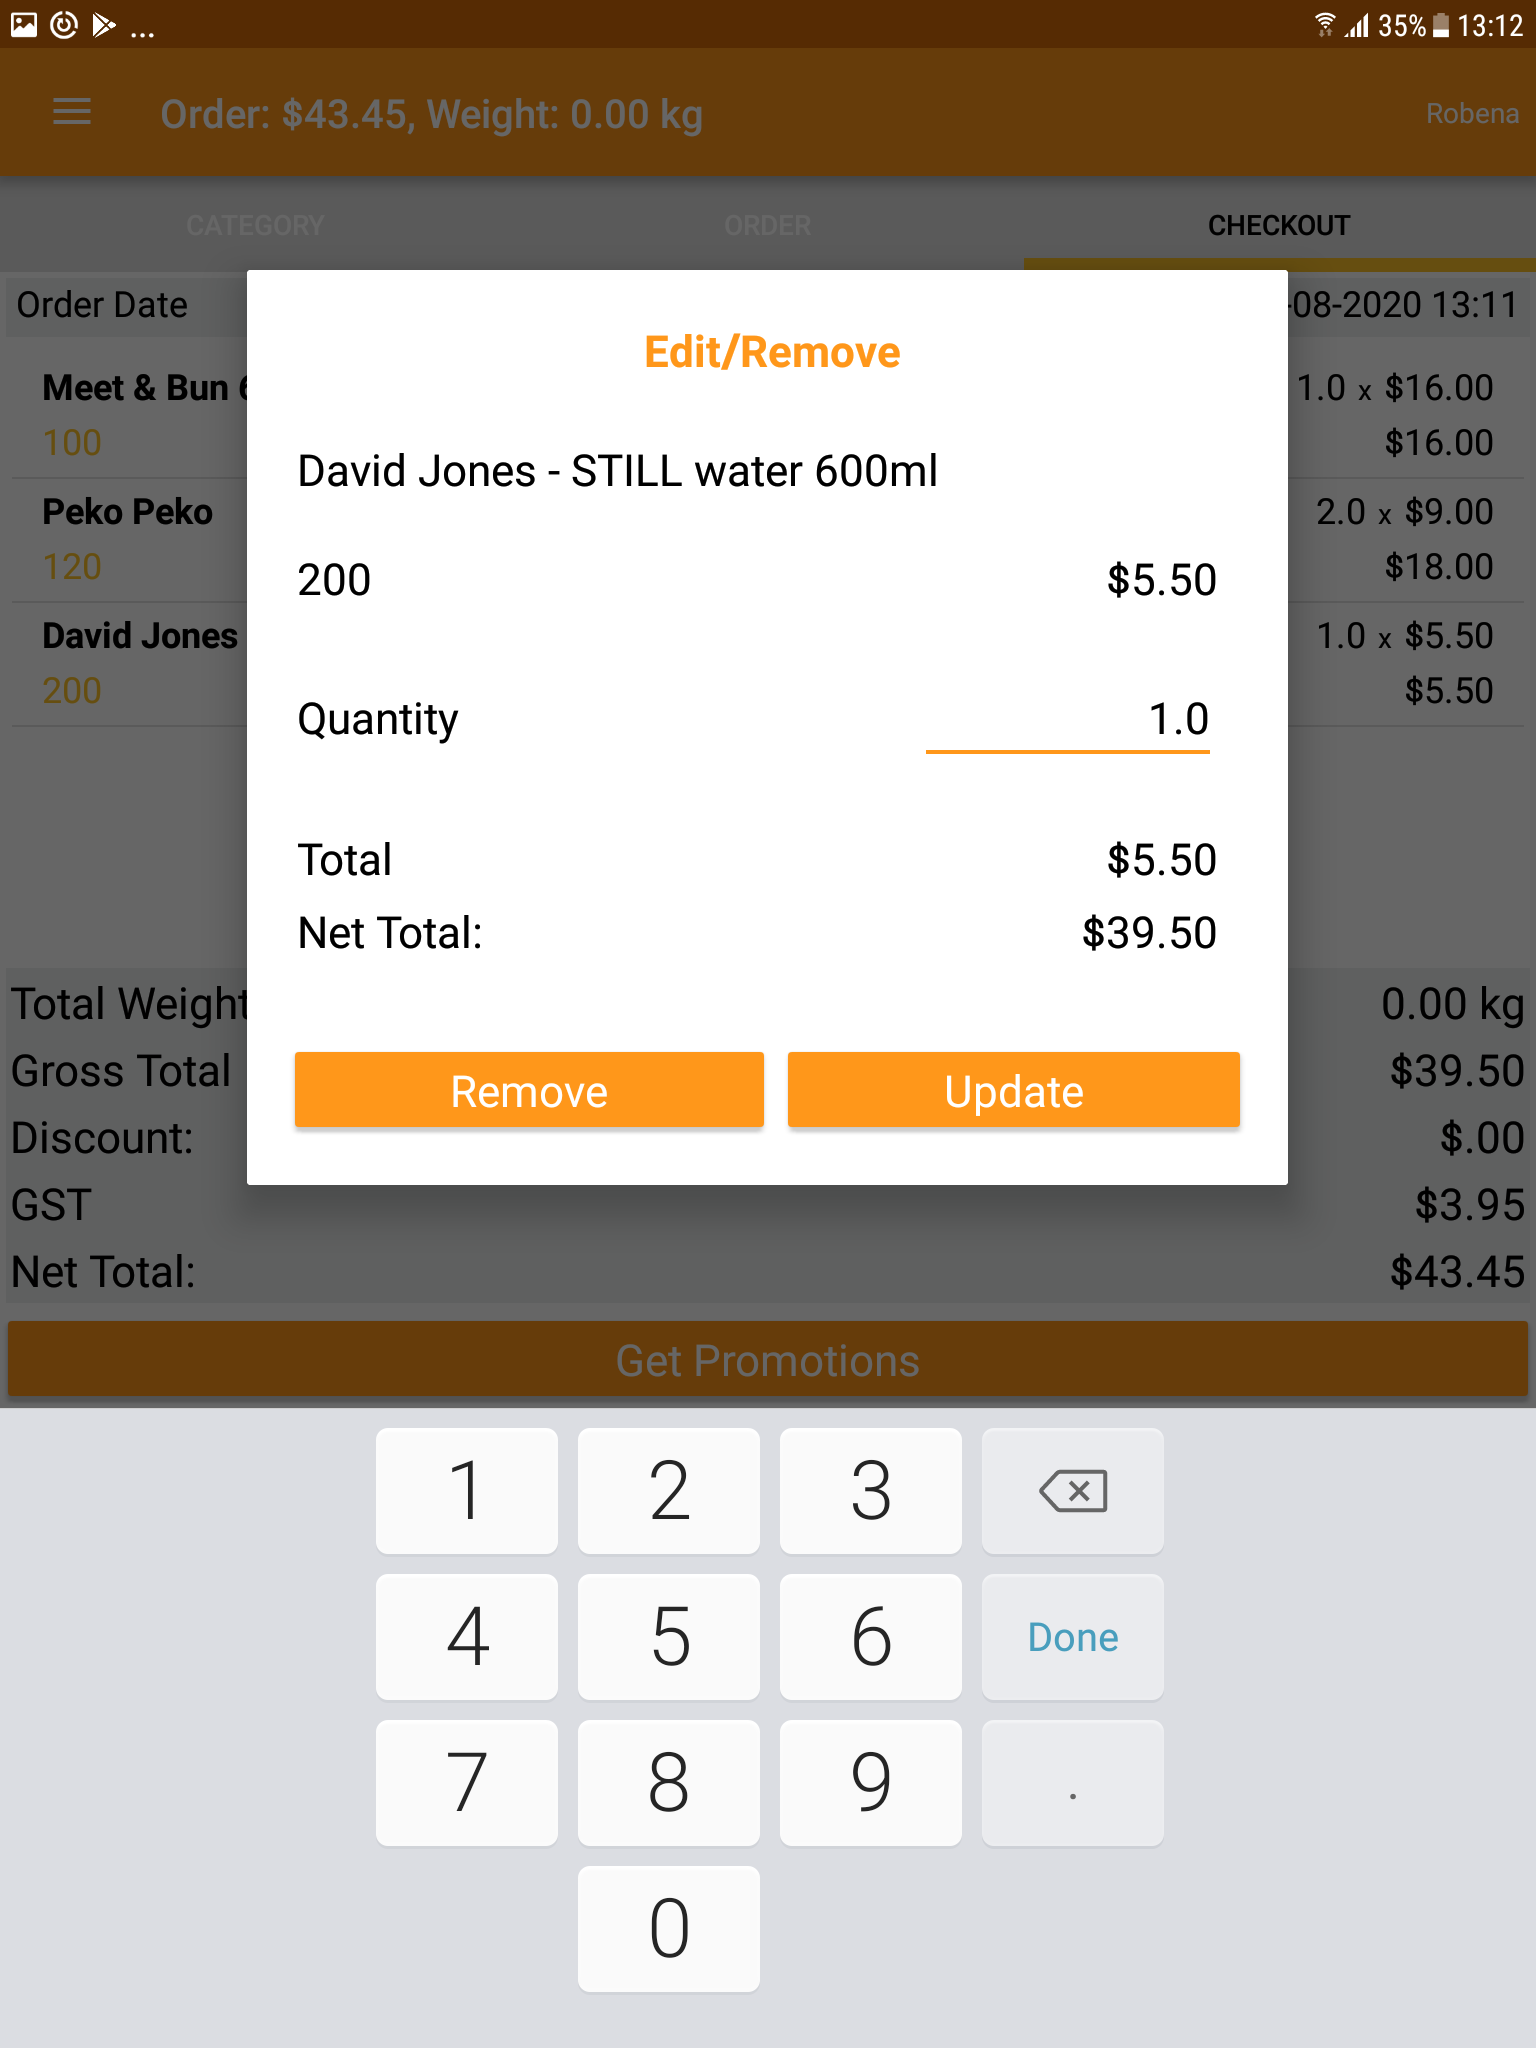
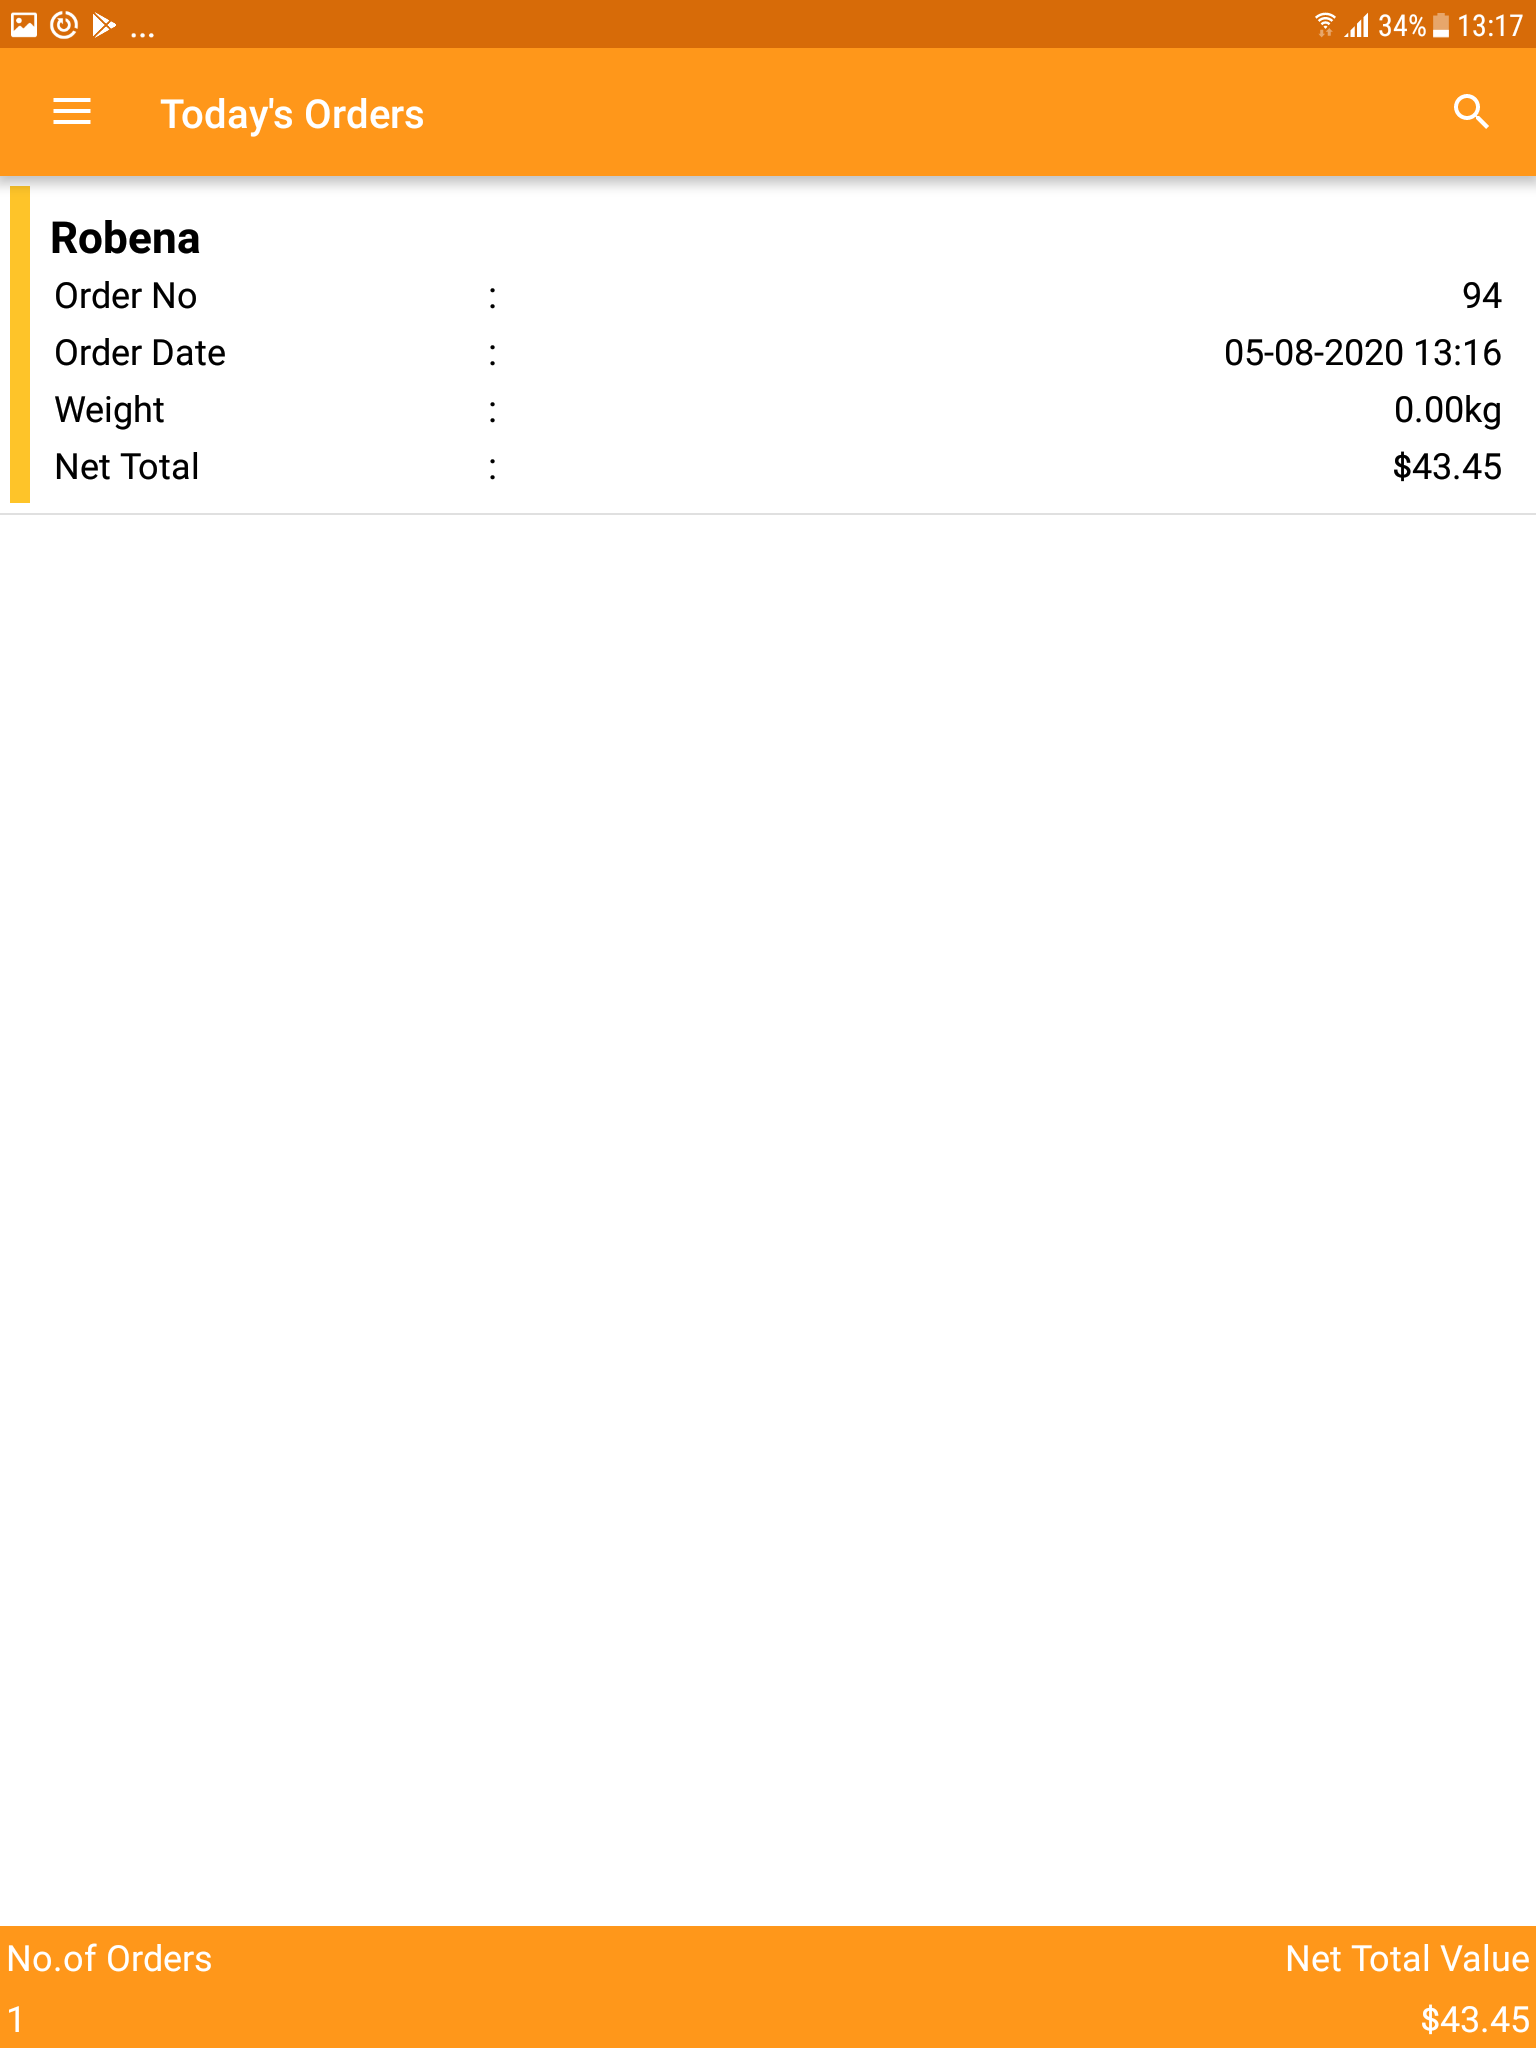
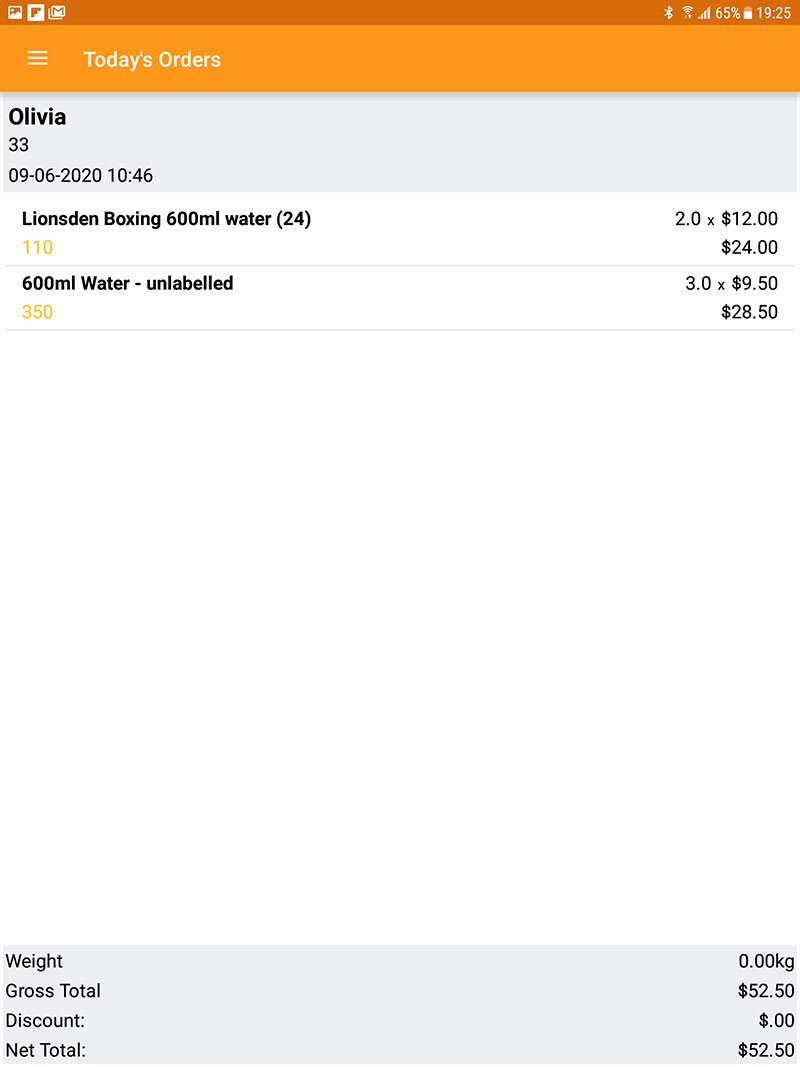
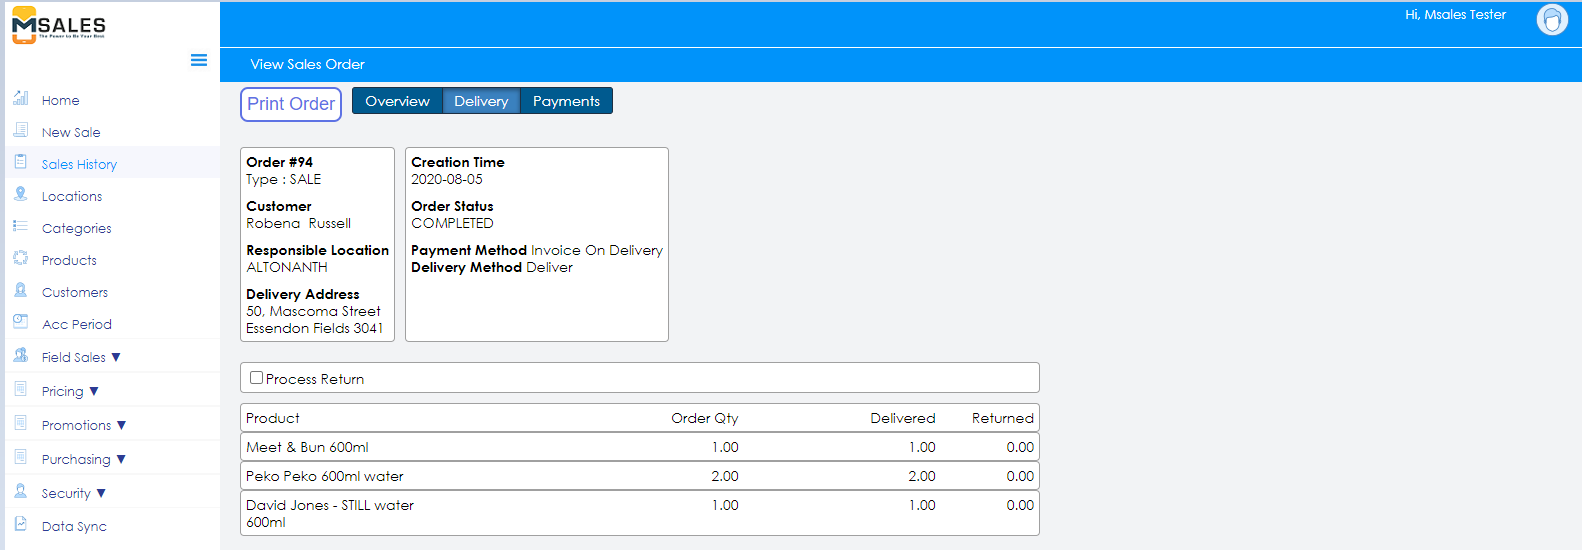
Todays Orders
The 'Today's Orders' page will display only the orders that are placed today.
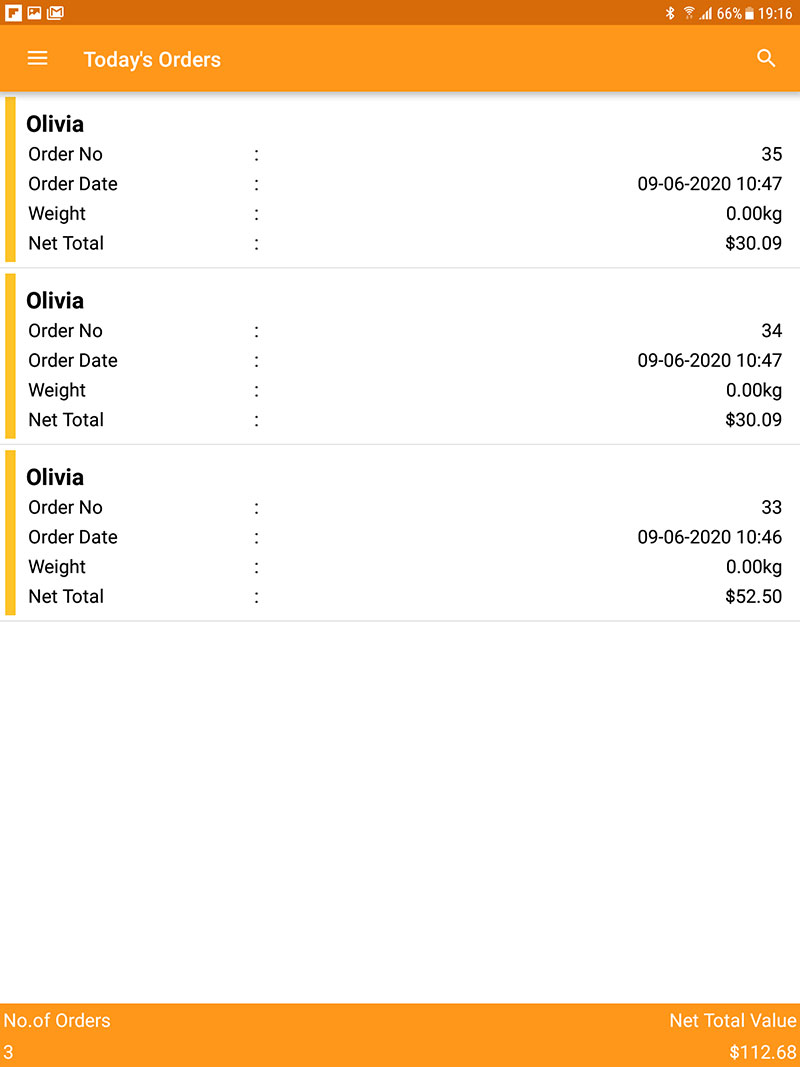
Double click on the invoice line and this will give the details of the selected invoice.
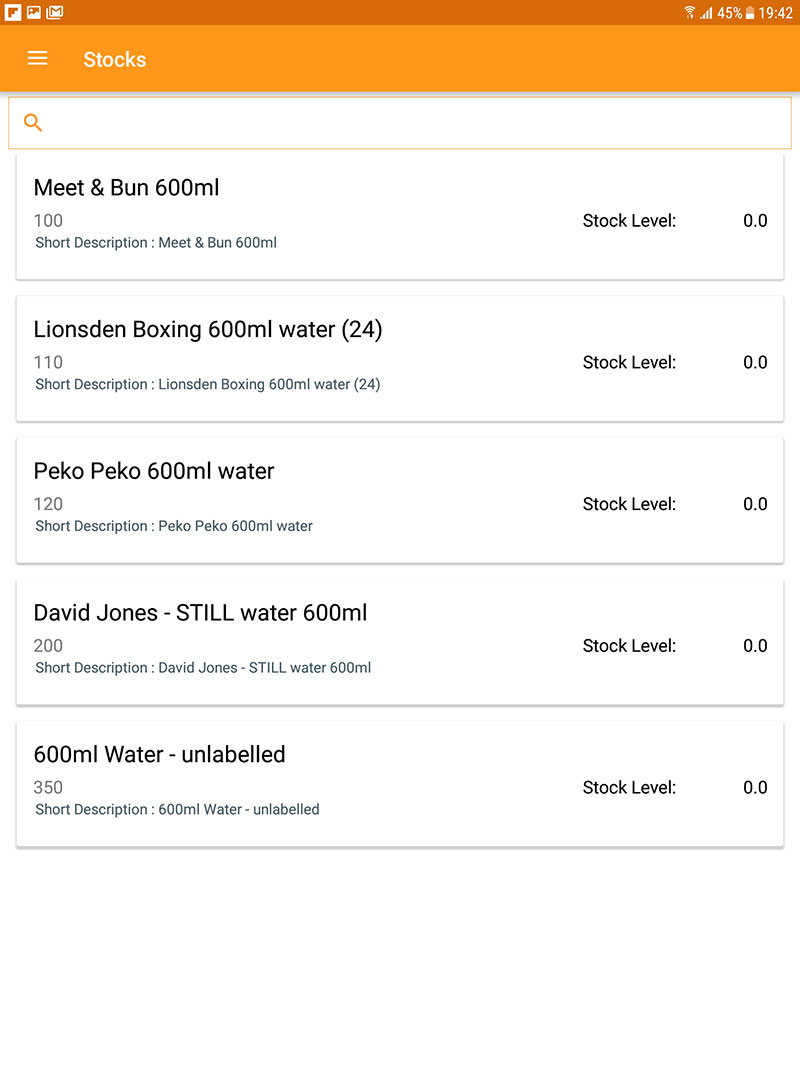
Stocks
The 'Stocks' page from the main menu option displays the stocks per product.
A list of all the available items with stock levels will be displayed on swipe.
Stock - Stock count of all the products.
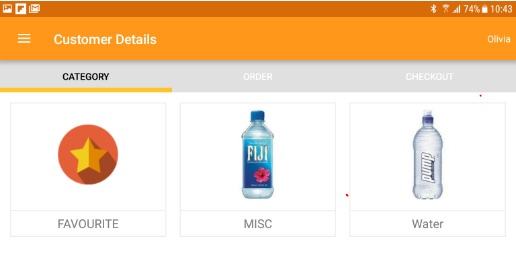
Products
The 'Products' page from the main menu option displays the product categories and the products in each category.
There is a feature in mSalesApp to add products to FAVOURITES, this will enable you to have quick access to the products for future orders.

To view Product Information under a category, simply tap on a category. The
product code, price, information icon and mark as favorite option will be given
in the screen.
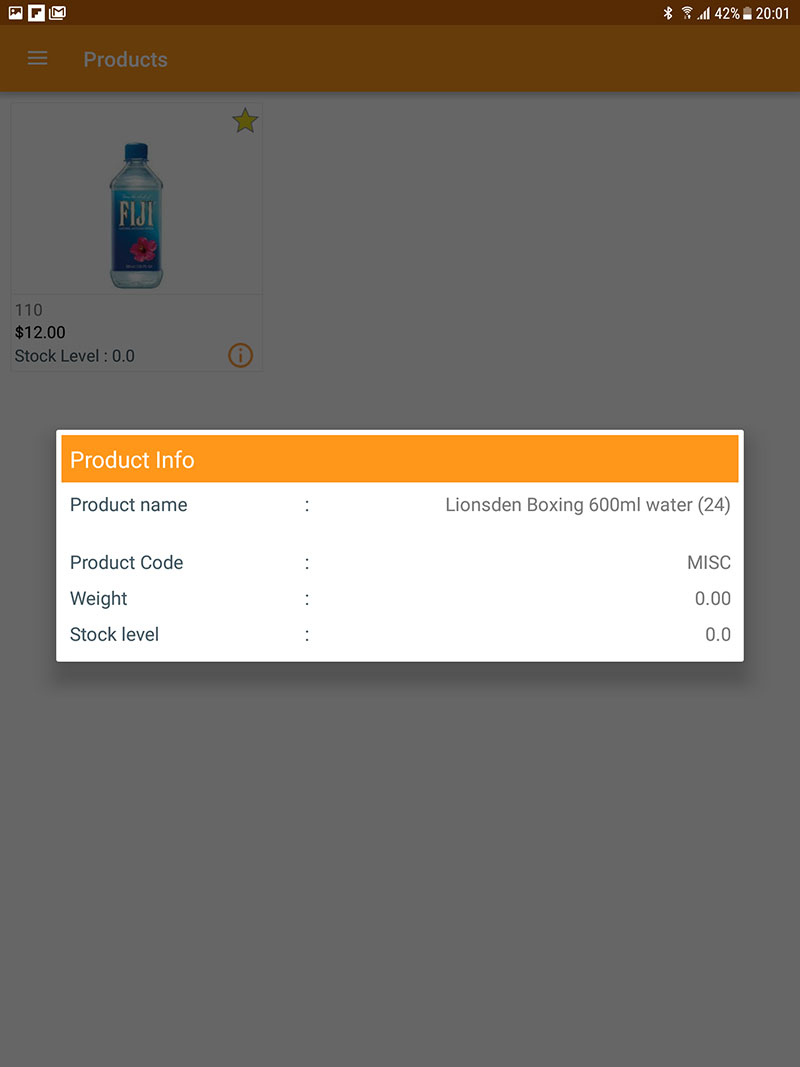
It allows you to add product as favorite for quick access when ordering. The
favorite products will be listed on top of the product list making product
selection easy.
Tap on the  sign in a product which
you want to mark as favourite.
sign in a product which
you want to mark as favourite.
(When you tap on the product the star icon color will change to yellow  )
)
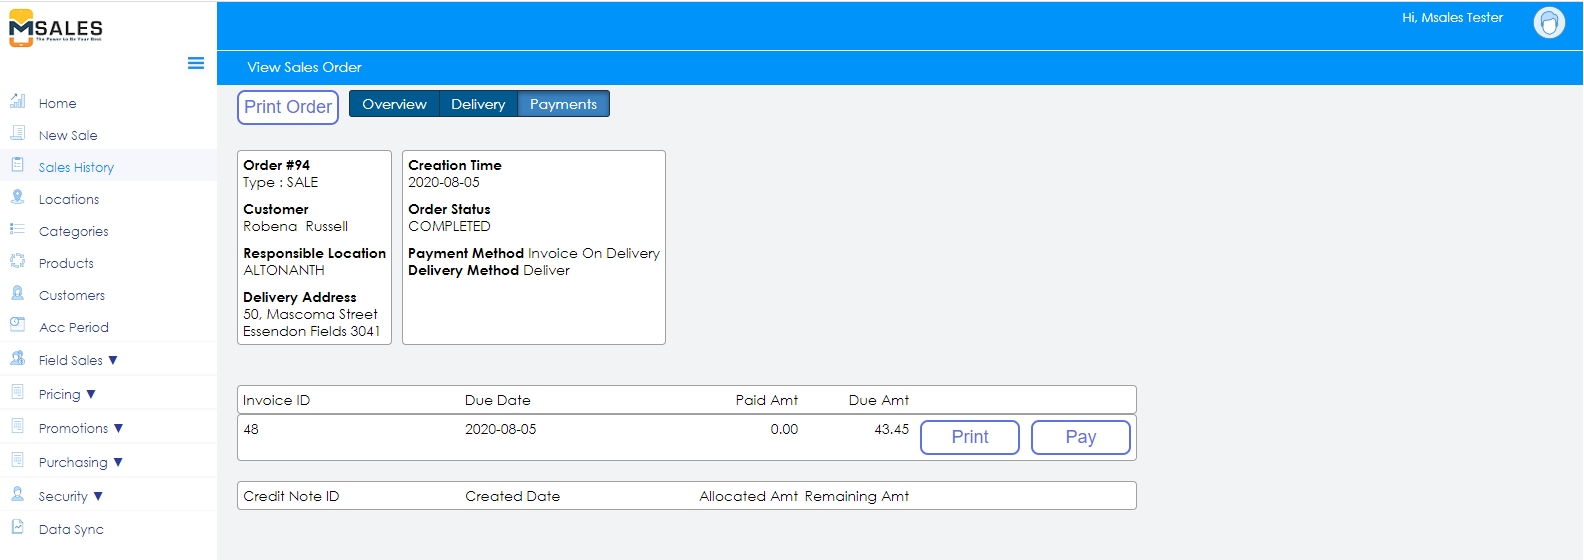
Outstanding Collection Detail
Using the  icon in Customer Detail
screen, you can record a payment for the selected customer against the pending
Invoice/s.
icon in Customer Detail
screen, you can record a payment for the selected customer against the pending
Invoice/s.
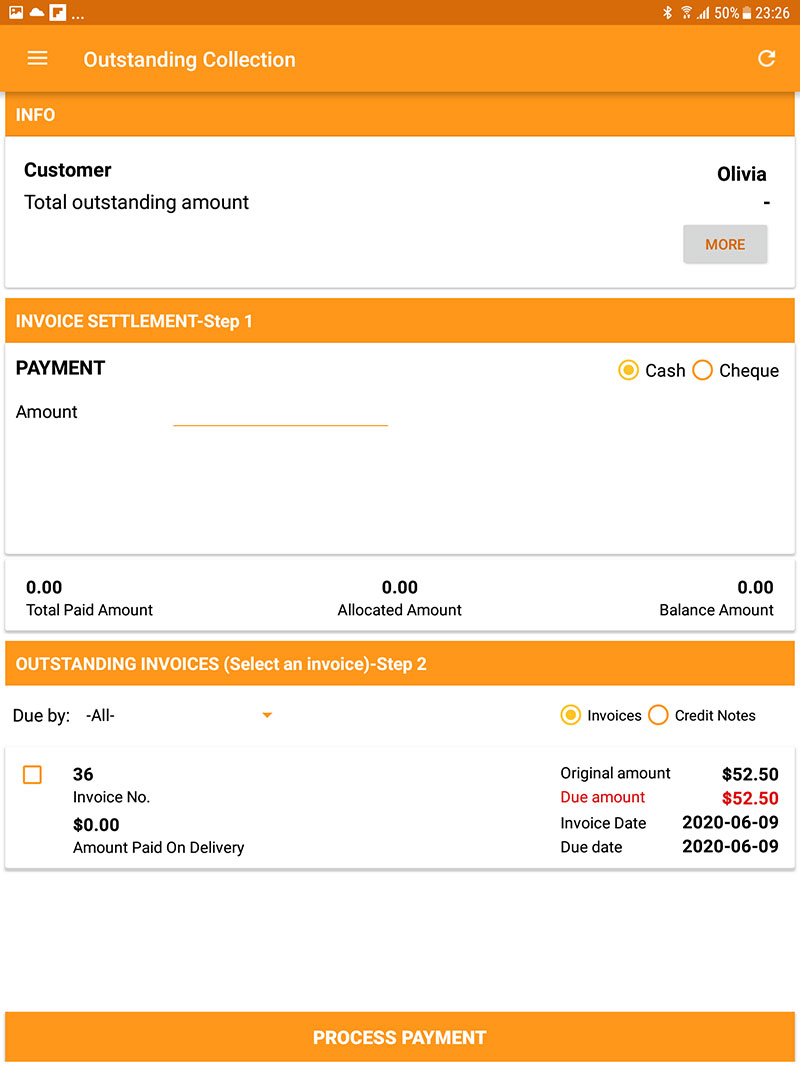
- Select ‘Cash’ or ‘Cheque’ in the ‘INVOICE SETTLEMENT’ section.
- Enter the ‘Amount’.
- Select an invoice/s from the ‘OUTSTANDING INVOICES’ section.
- Click on the ‘Process Payment’ tab located at the bottom of the screen.
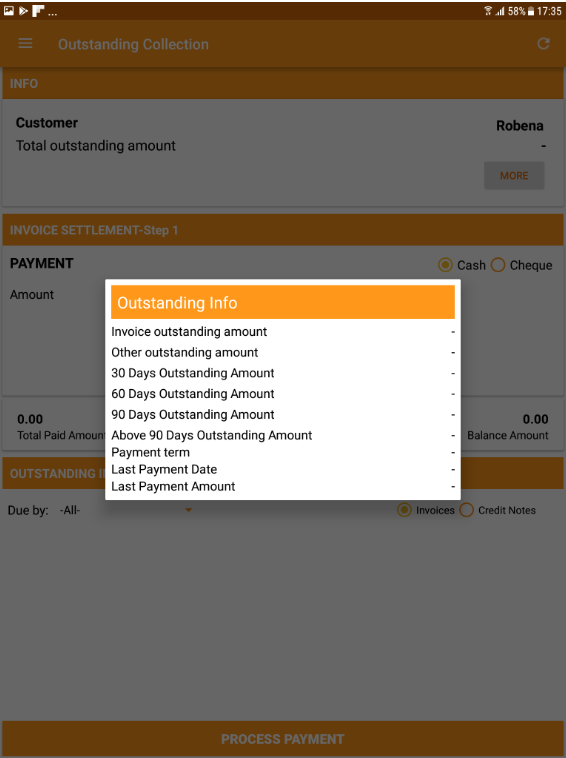
- Click on 'MORE’ in INFO section to view the OUTSTANDING INFO.
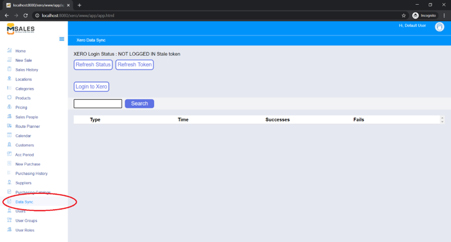
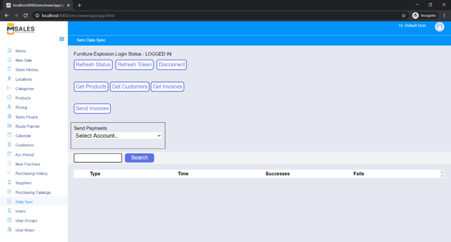
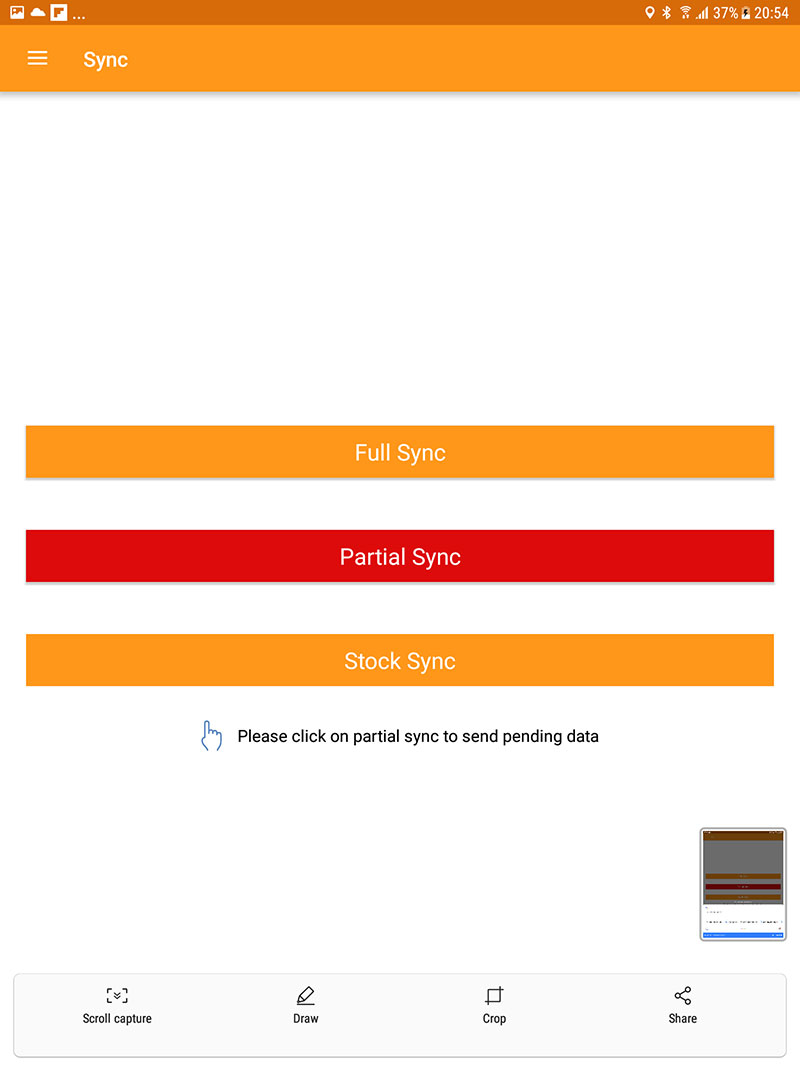
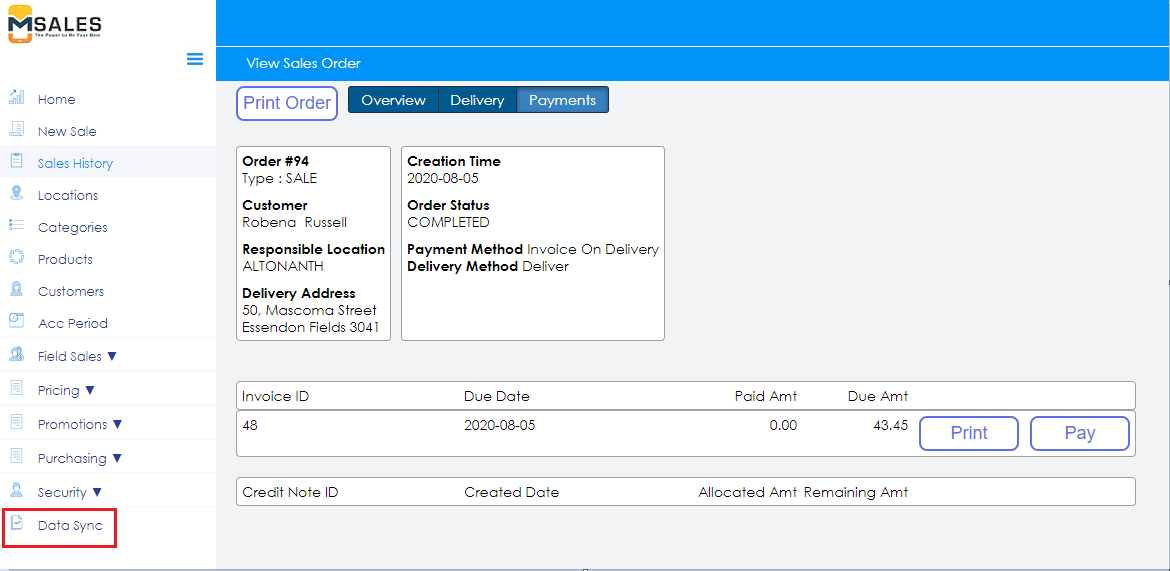
Sync
This allows you to view if the application is in Sync. This can be viewed by
selecting the ‘SYNC’ option under Settings in the Main menu.
Full Sync - All records will be retrieved and saved. You should use it
when you Login first time into the system, when you log after clearing all your
data or when there is a change in the master files(Ex.Product change).
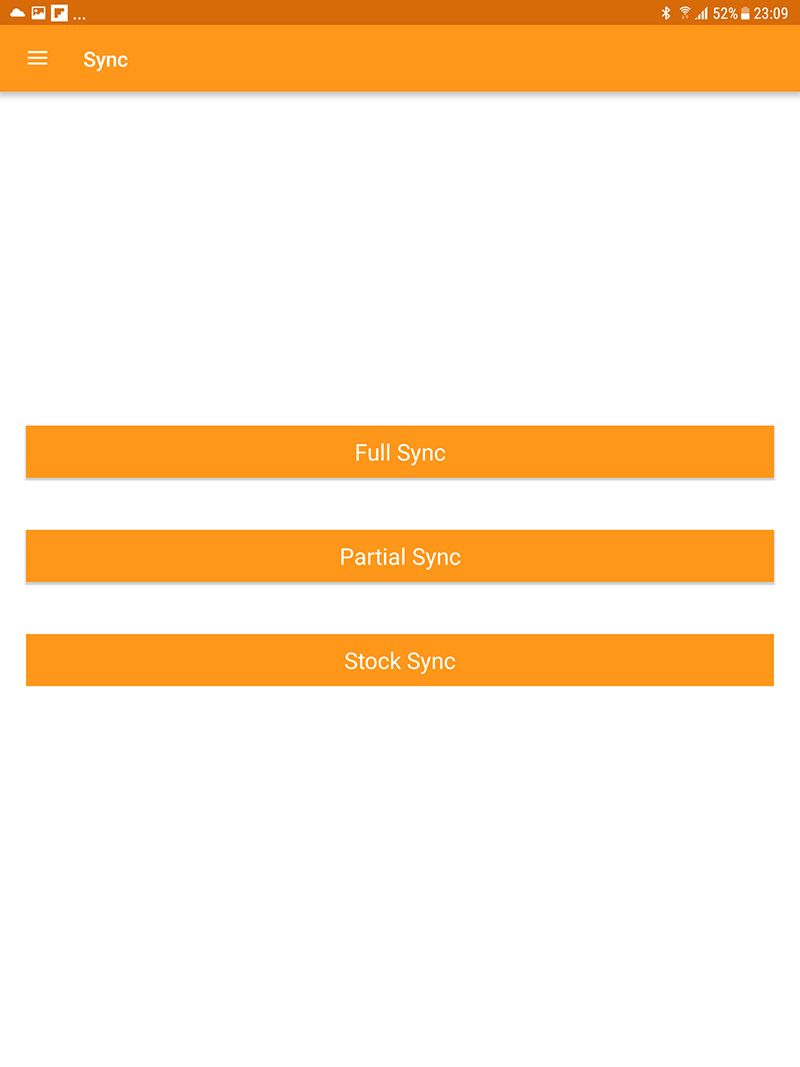
Partial Sync - Sales Rep's pending records such as orders and visit notes
will be sent to the server. This function will be automatically triggered before
full sync and Log out.
>
mSalesApp Logout
How to log out from mSalesApplication
You can logout from the application by selecting ‘Logout’ from the main menu.
It will send all the pending transactions before logging out.
Xero integration
mSalesApp integrates seamlessly with Xero to give users an unparalleled experience.
The next 2 sections explain how your data can be effectively mapped between Xero and mSalesApp.
You should have products and customers already created in Xero before you attempt the following steps.
If you don’t already have a business created on Xero, then go ahead and create one. Click here to check out how to set up your business on Xero.
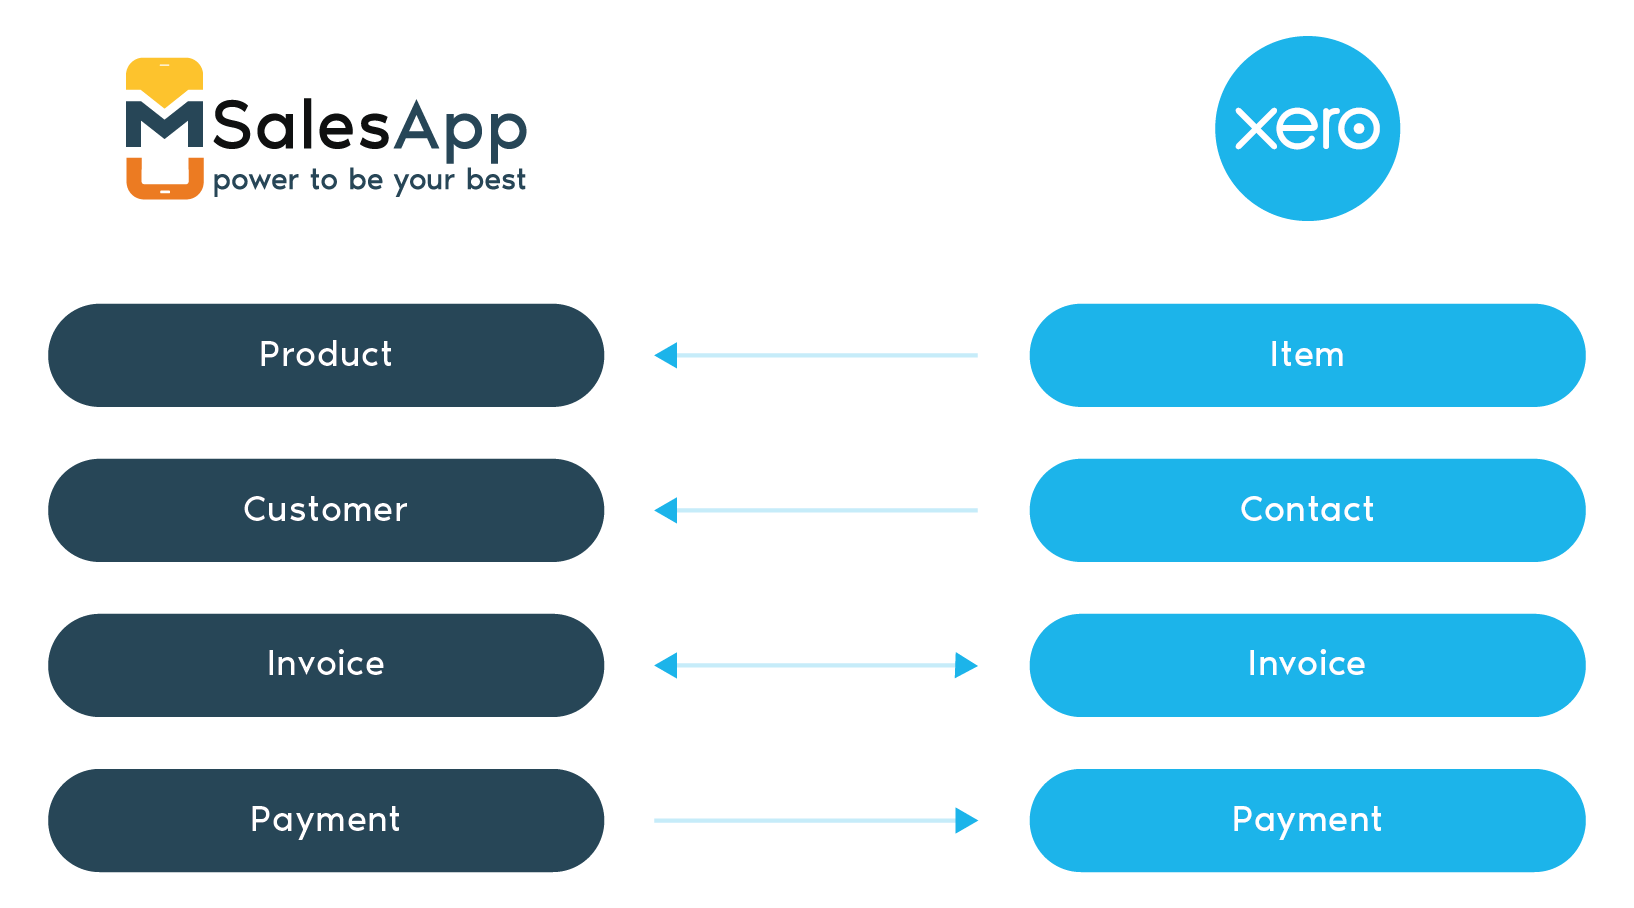
Data Mapping
Data Mapping between Xero and mSalesApp
The figure below provides an overall view of how the data mapping process takes place;

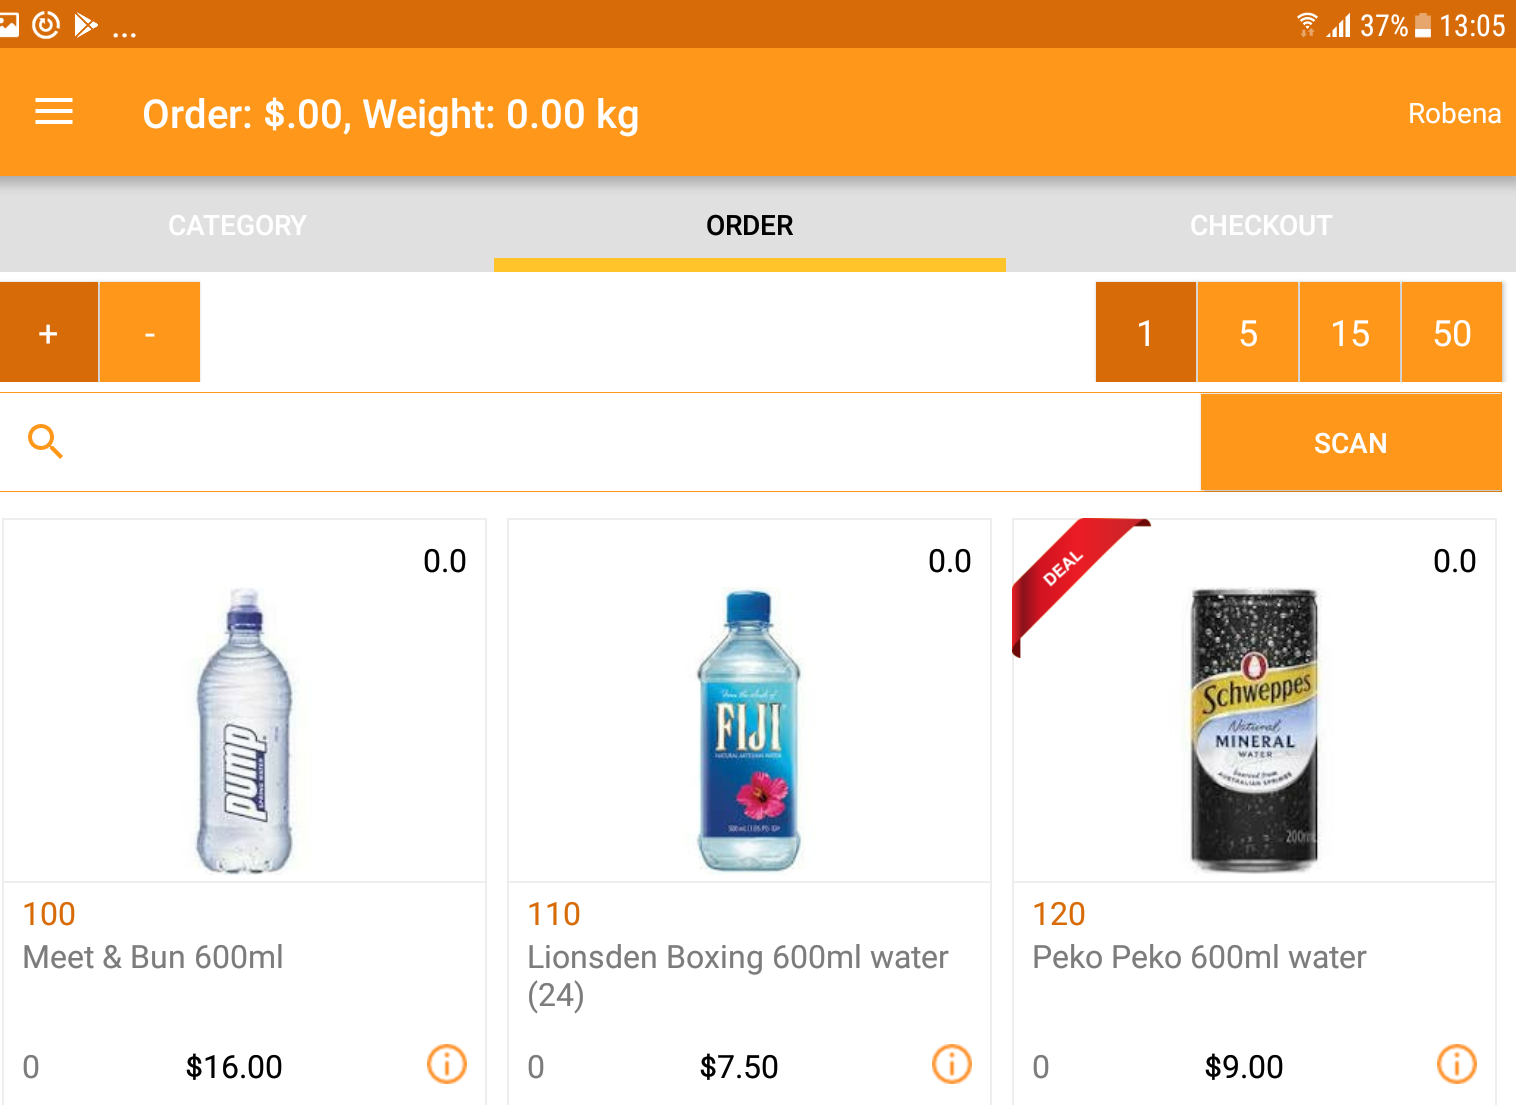
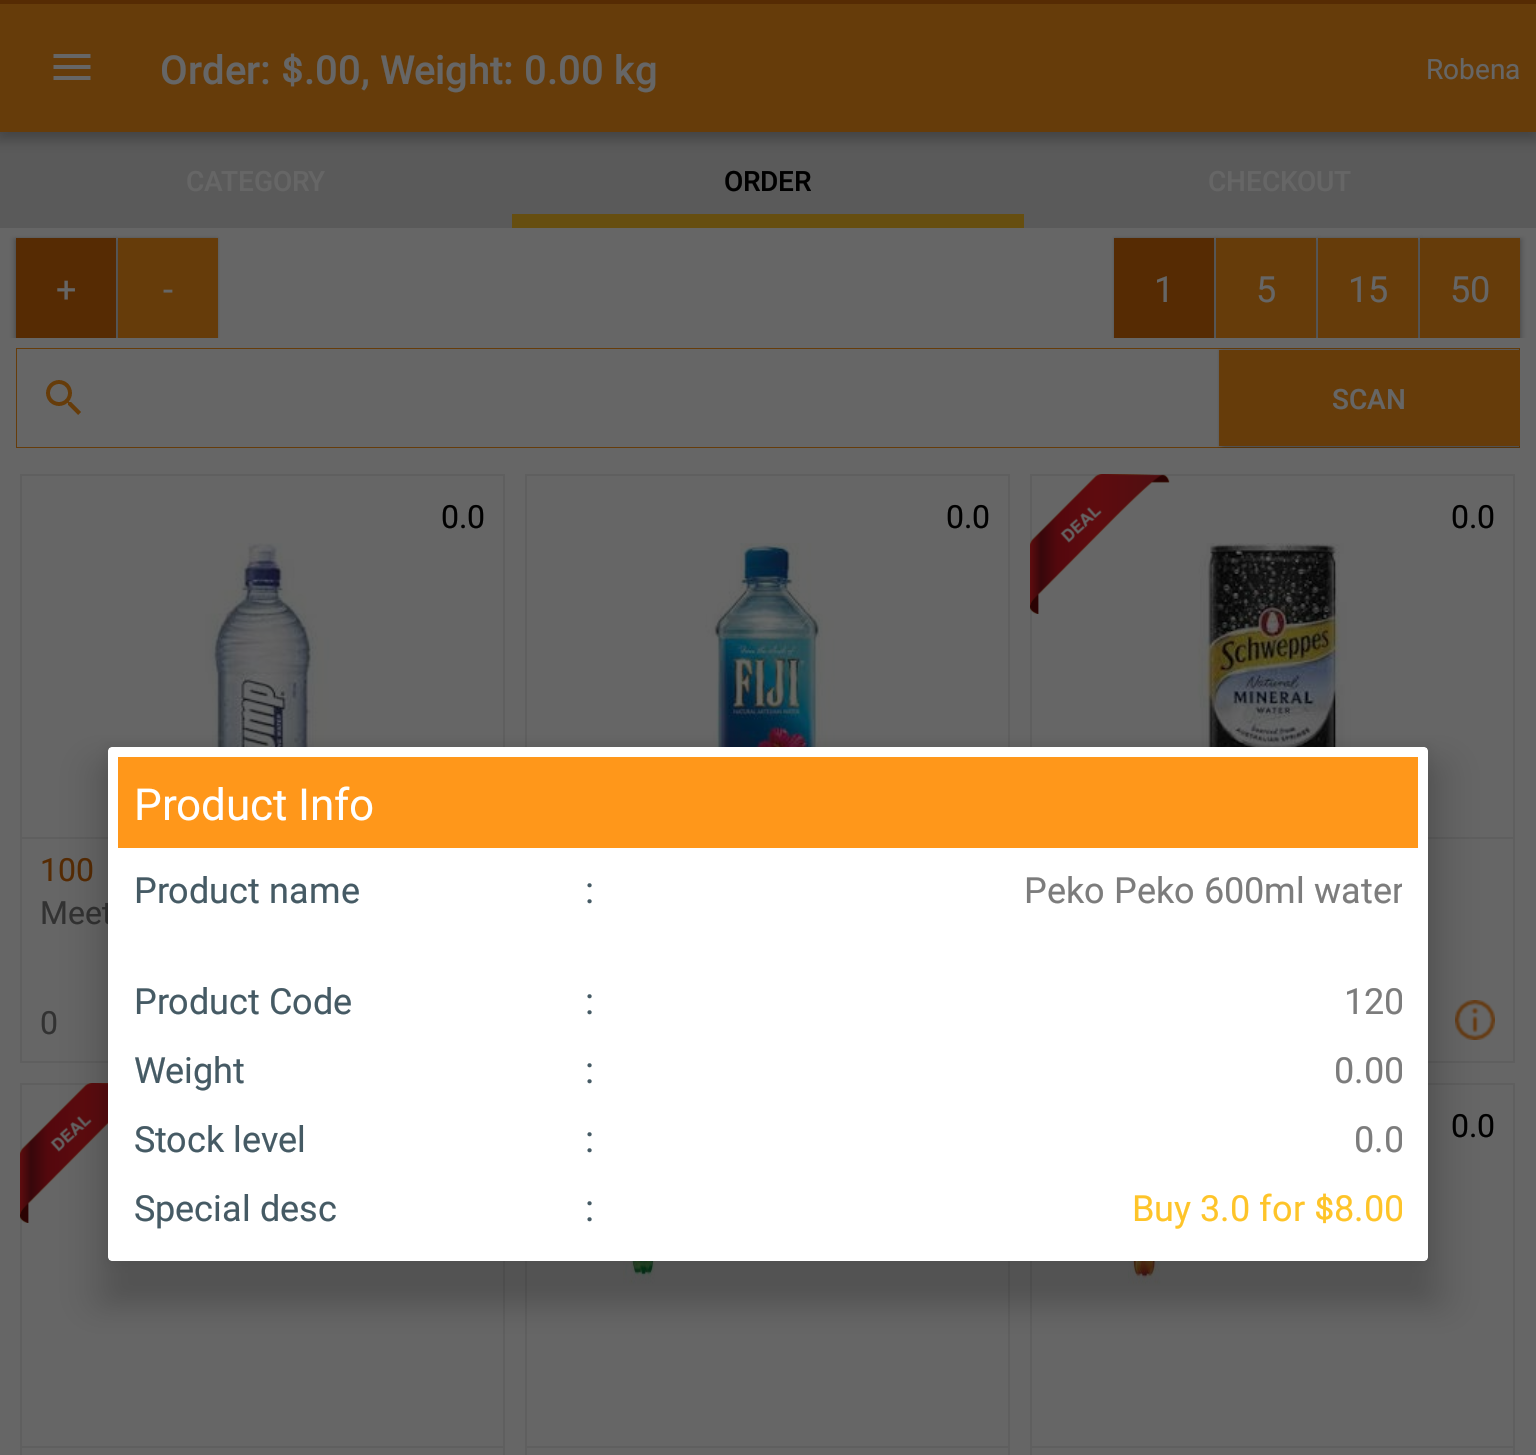
 . Or search for the product
  If you click on the information icon
  the product information will be displayed.